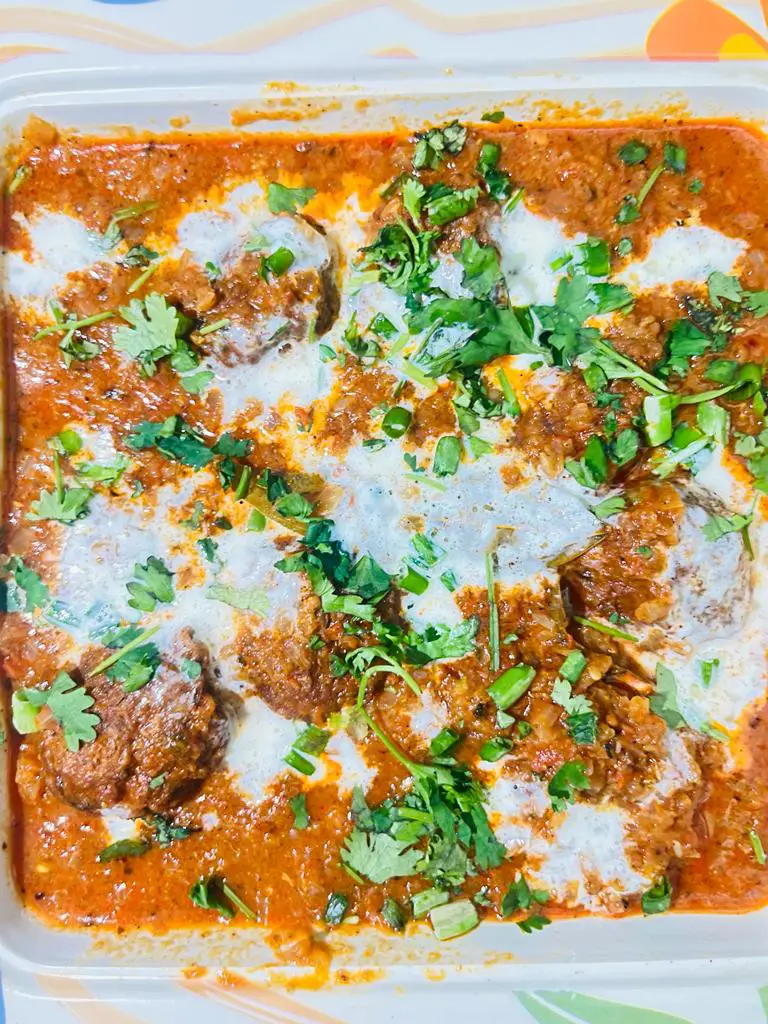
Black Eyed Peas Curry Indian Recipe | Pressure Cooker Lobia Masala
In India there are plethora lentils & legumes in which black eyed peas curry is most famous in the world. Lobia, also known as black-eyed peas or cowpeas, is a popular legume just like traditional dal makhani that has been cultivated and consumed for centuries. Its distinct flavor, versatility, and nutritional benefits make it a favorite ingredient in numerous dishes. This main course is in every kitchen in India as it is liked by all age groups. 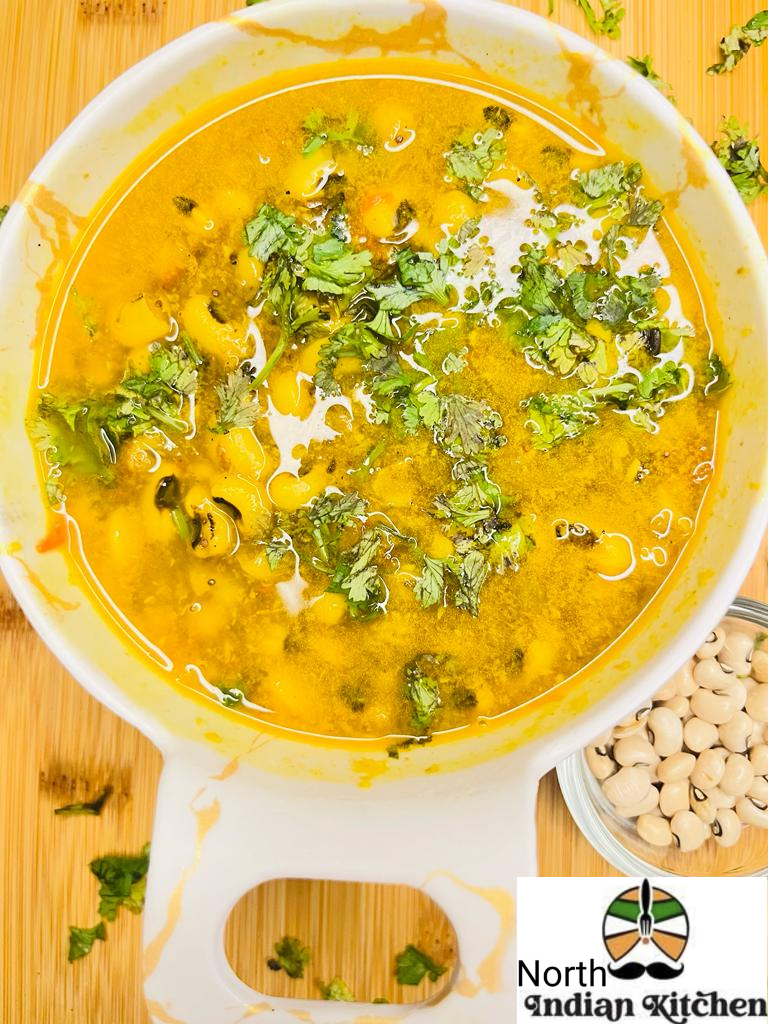
Lobia holds a significant place in the culinary traditions of many cultures. It has been cultivated in Africa for over 5,000 years and later spread to Asia, Europe, and the Americas through trade and exploration. In African folklore, lobia is believed to bring good luck and prosperity, which is why it is often associated with celebrations and festivals.
Culinary Uses
Lobia offers a wide range of culinary possibilities, making it a versatile ingredient in both vegetarian and non-vegetarian dishes. Here are a few popular ways to use lobia in the kitchen:
- Soups and Stews: Lobia adds a hearty and earthy flavor to soups and stews. It can be combined with vegetables, spices, and herbs to create delicious and nutritious one-pot meals.
- Salads: Lobia’s firm texture makes it an excellent addition to salads. Combine cooked lobia with fresh vegetables, herbs, and a tangy dressing for a refreshing and protein-rich salad.
- Curries: Lobia is commonly used in curries across different cuisines. It absorbs the flavors of spices and seasonings, enhancing the overall taste of the dish.
- Side Dishes: Lobia can be prepared as a standalone side dish by cooking it with aromatic spices, onions, and tomatoes. It pairs well with rice, roti (Indian bread), or any other grain of your choice.
Nutritional Benefits
Lobia is not only delicious but also highly nutritious. Here are some of its notable health benefits:
- High Protein Content: Lobia is an excellent plant-based source of protein, making it an ideal choice for vegetarians and vegans. Protein is essential for tissue repair, muscle growth, and overall health.
- Fiber-Rich: Lobia is rich in dietary fiber, which aids in digestion, regulates blood sugar levels, and promotes a healthy gut. It also helps in maintaining a feeling of fullness, aiding in weight management.
- Essential Vitamins and Minerals: Lobia contains essential vitamins and minerals like folate, iron, potassium, and magnesium. Folate is crucial for cell development, while iron supports red blood cell production.
- Antioxidant Properties: Lobia contains antioxidants that help protect against cell damage caused by harmful free radicals. Antioxidants are known to have anti-inflammatory properties and may contribute to overall well-being.
Preparation Method
Now, let’s dive into the step-by-step process of making lobia masala:
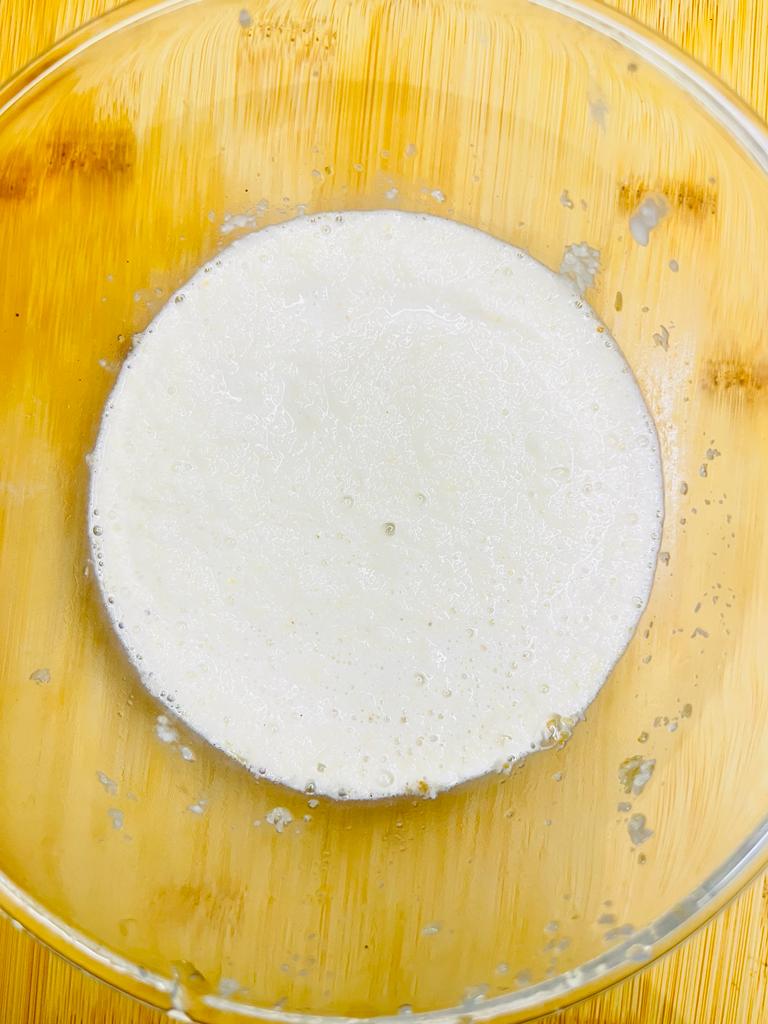
Make Coconut Puree
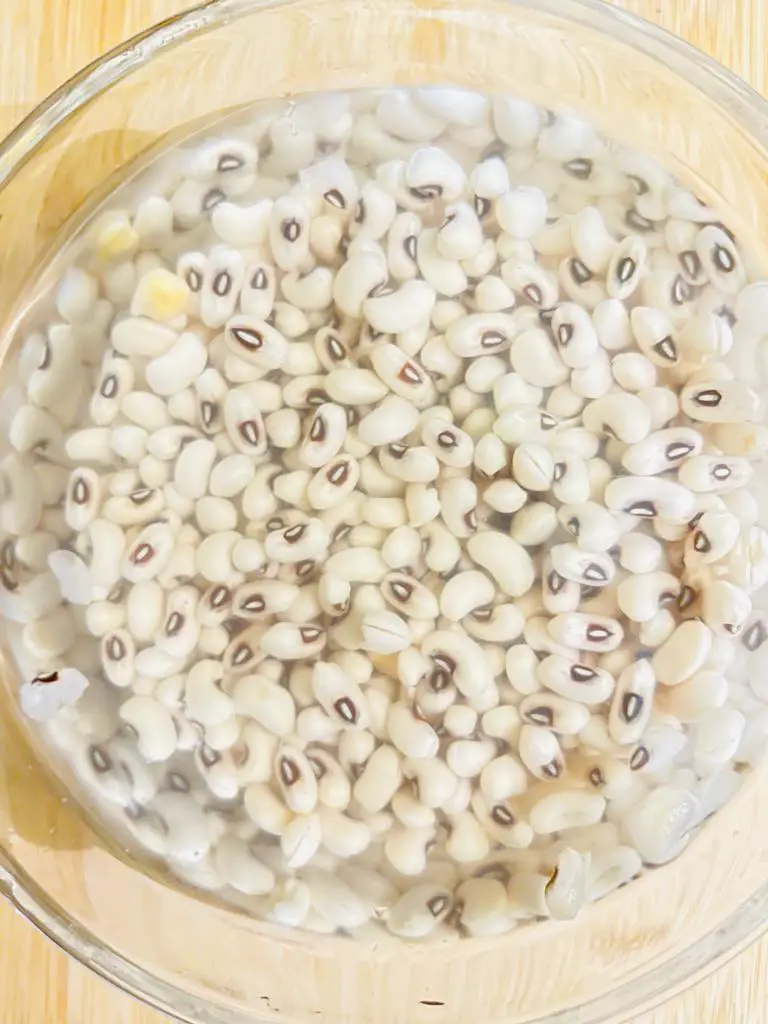
- Make sure that 1cup lobia should be soaked in water overnight (for approximately 7-8 hours).
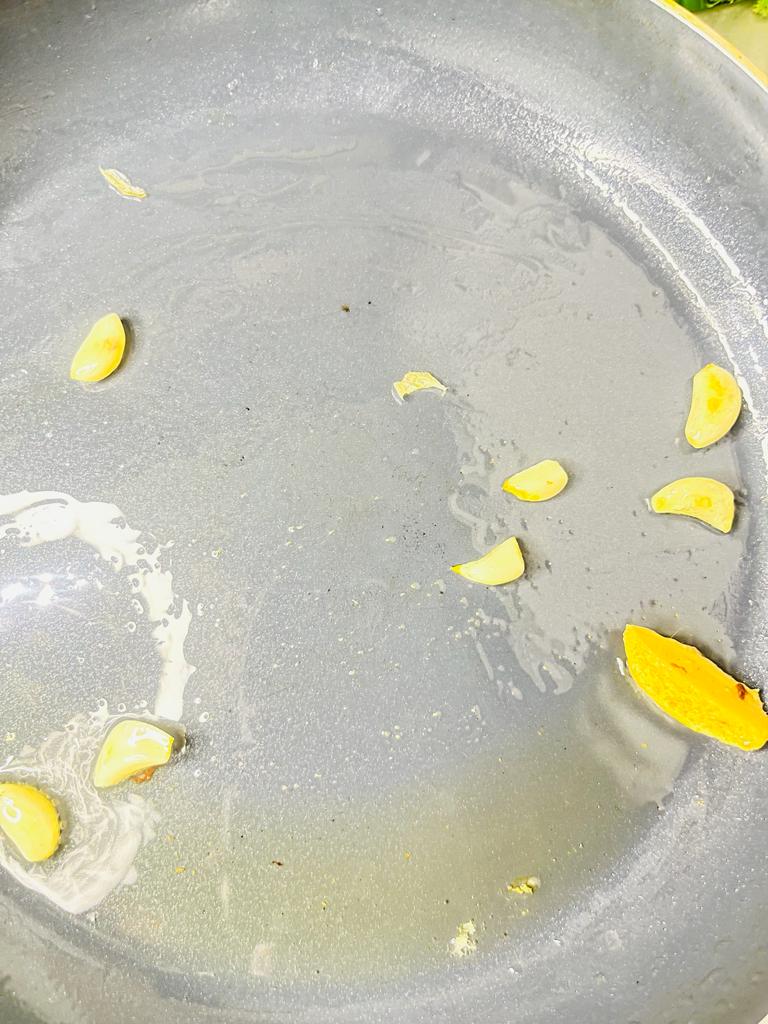
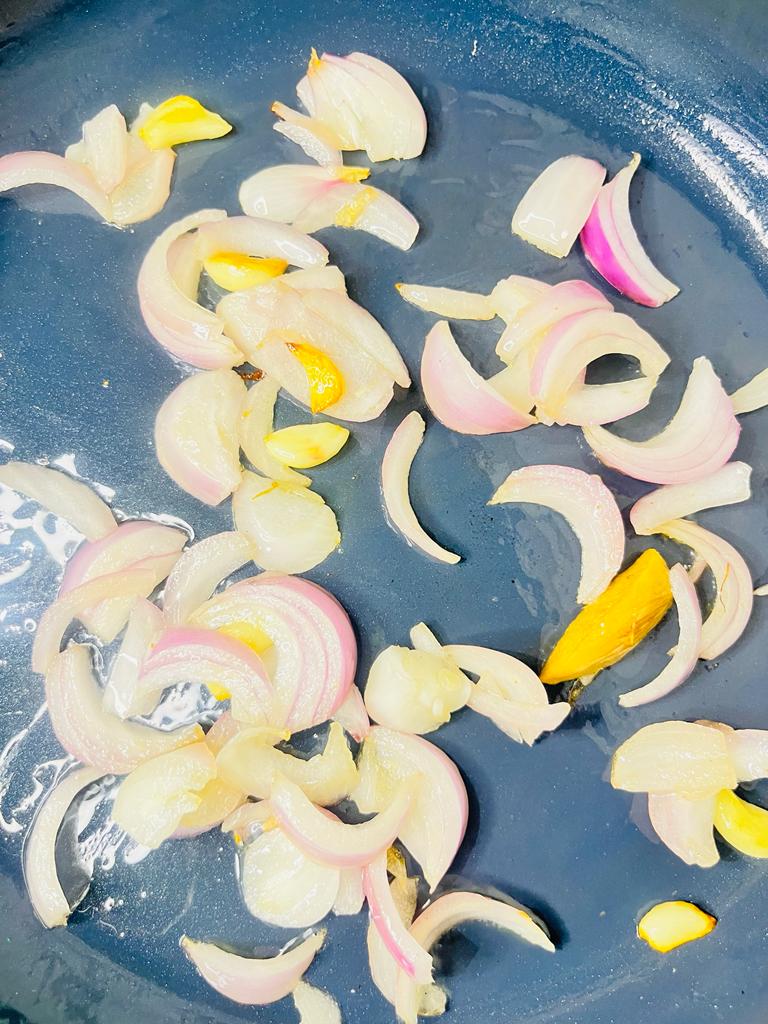
- Now take a pan and add 1 tablespoon oil, 1-inch ginger grated & 6-7 garlic pods, minced.
- Add 1large finely chopped onions.
- Append 3 tablespoons coconut powder in to the pan. It will enhance the flavor.
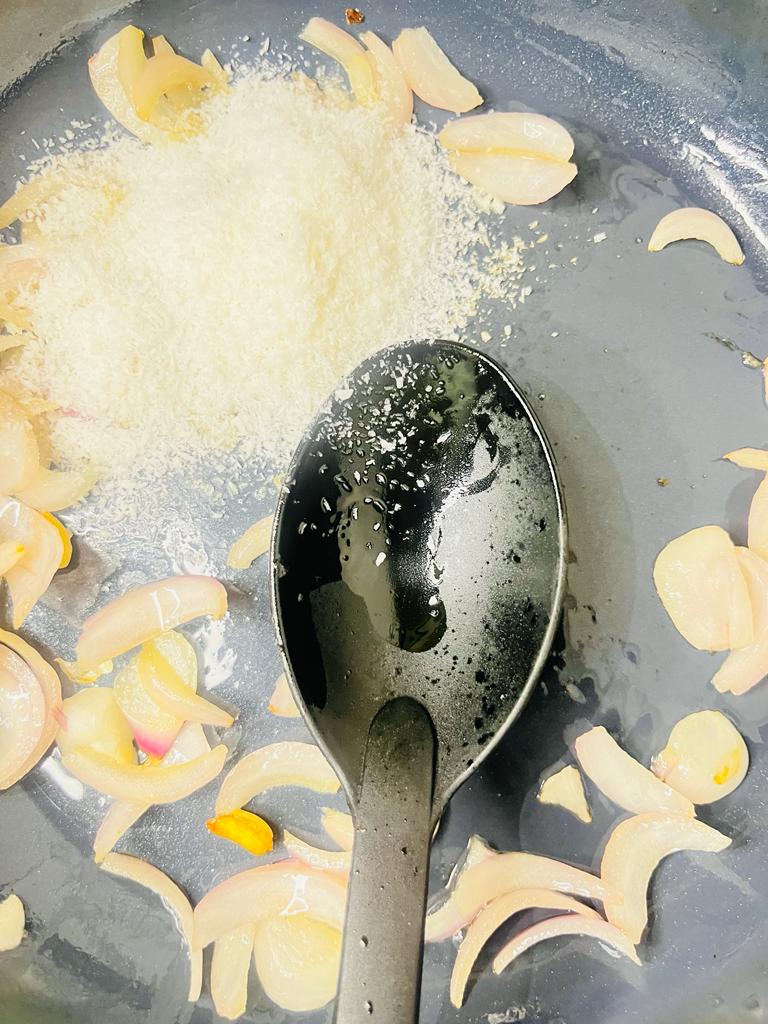
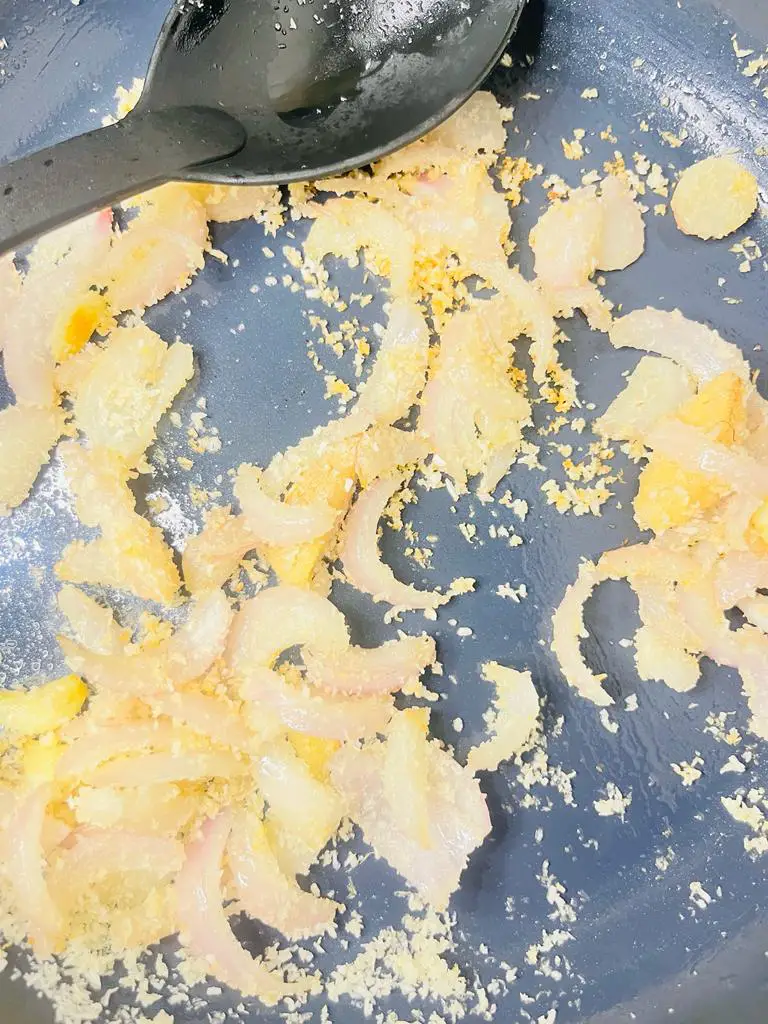
- Mix all the ingredients well.
- Afterwards transfer the mixture to a bowl and let it cool down at room temperature. Add 1/2 cup water in it.
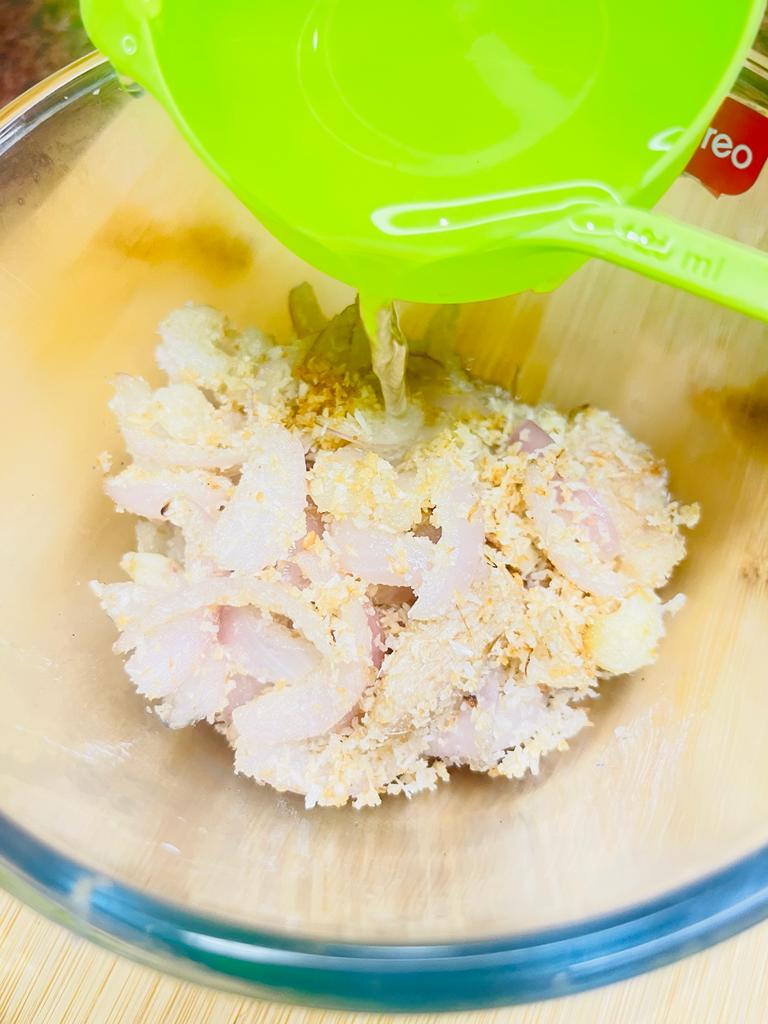
- Blend the mixture through mixer grinder to form a smooth gravy. Place it aside for further use.
 Make Lobia Masala
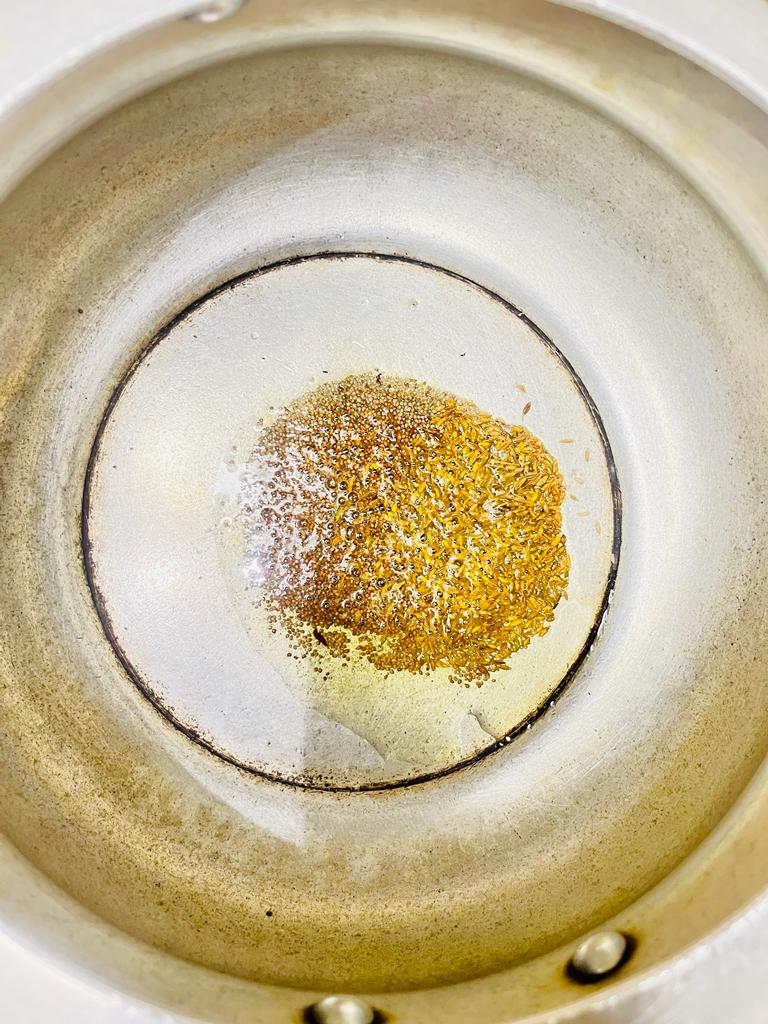
 - Heat 2 tablespoons oil in a deep pan or pressure cooker and add 1 teaspoon cumin seeds. Let them splutter.
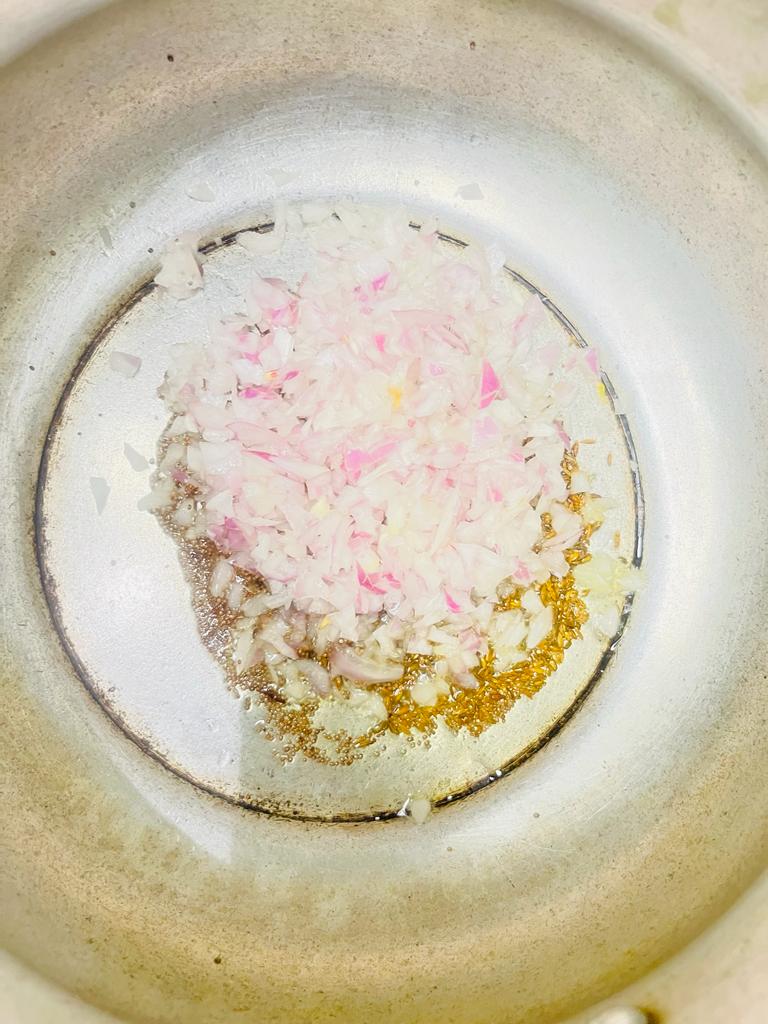
- Add 1 large chopped onions and sauté until golden brown.
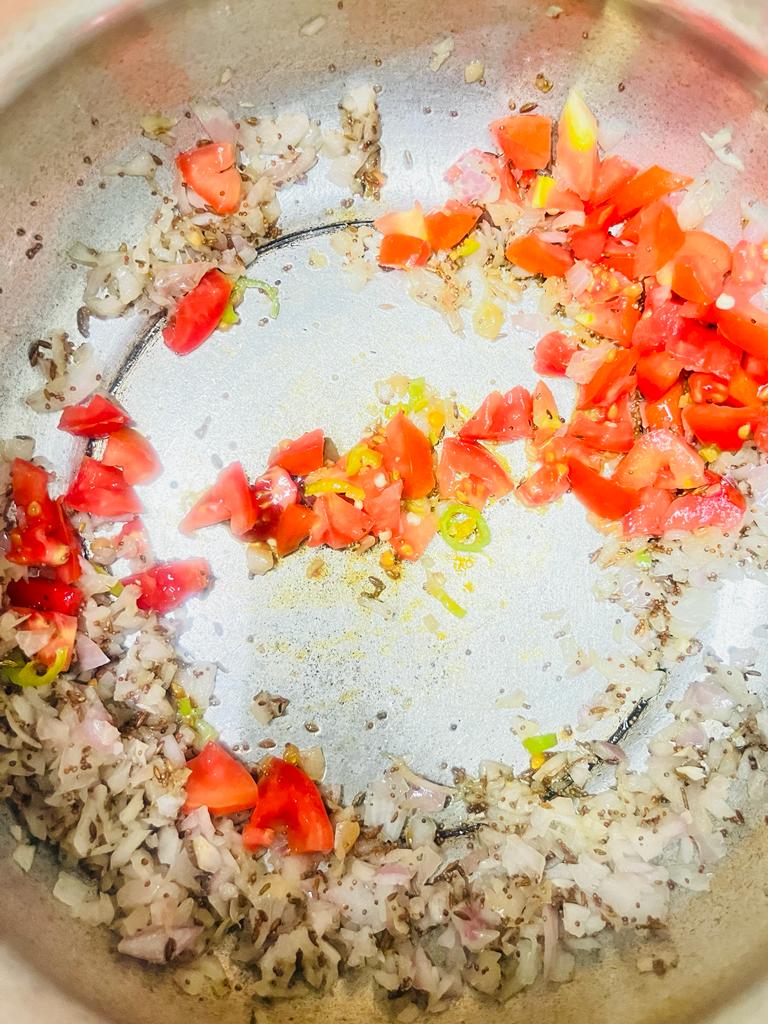
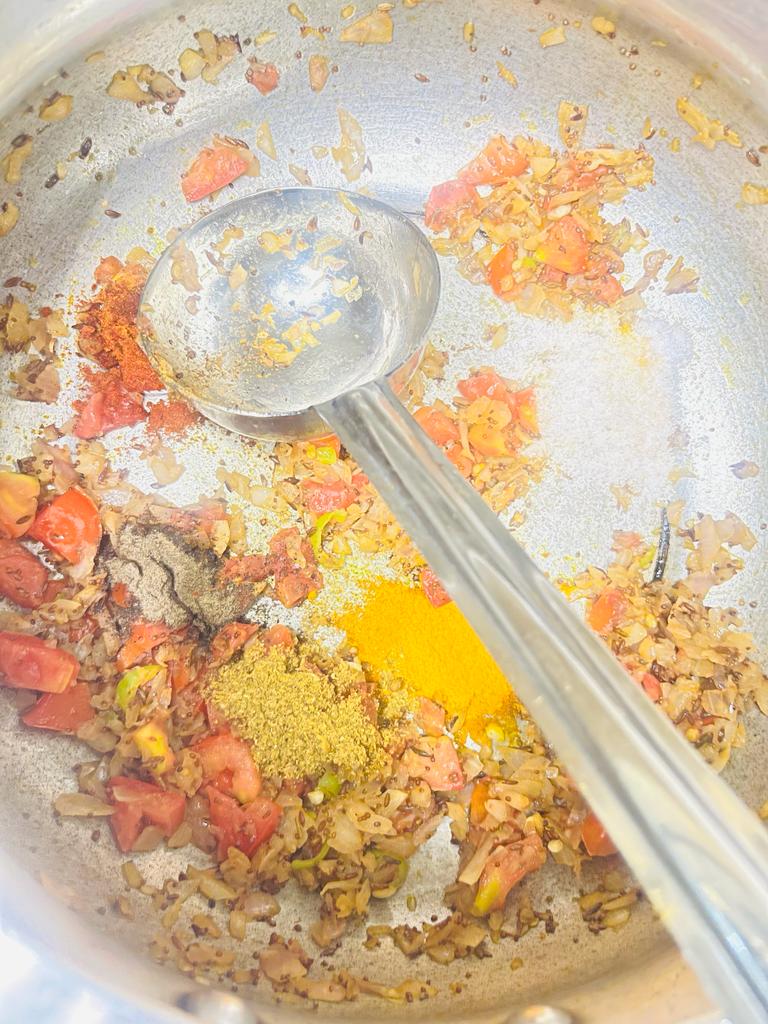
- Append 2 medium-sized tomatoes & 1 finely chopped green chili.
- Add 1/2 teaspoon turmeric powder, 1/2 teaspoon red chili powder, 1 teaspoon coriander powder, 1/2 teaspoon garam masala and salt to taste. Mix well.
- Add prepared coconut puree in it.
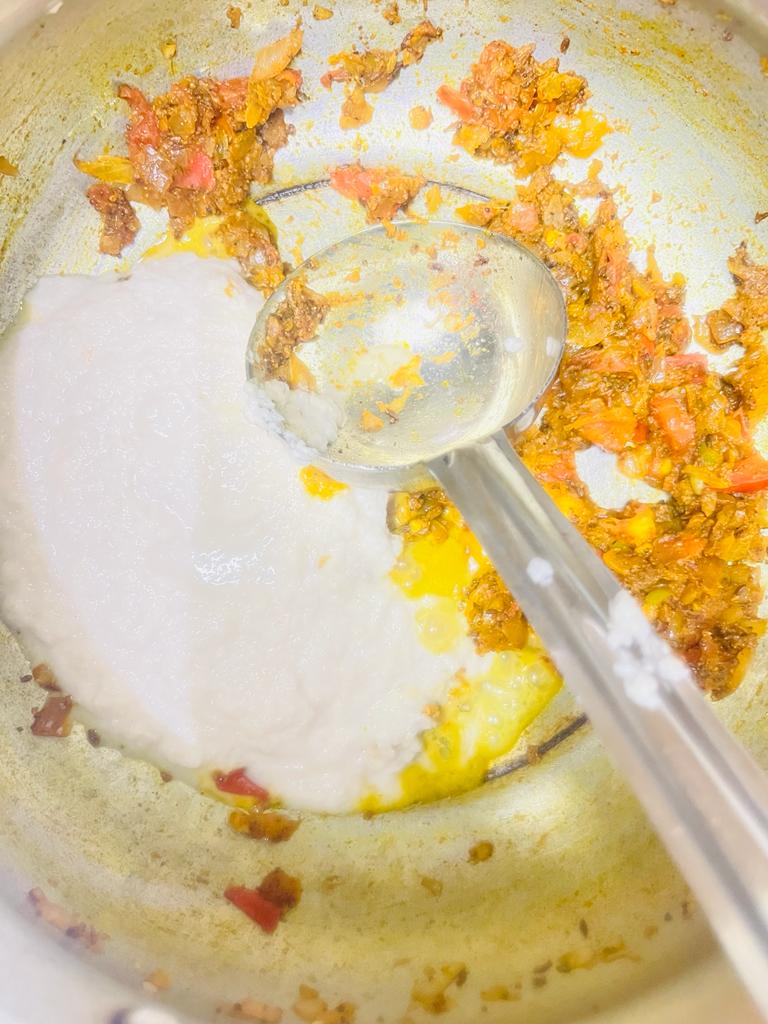
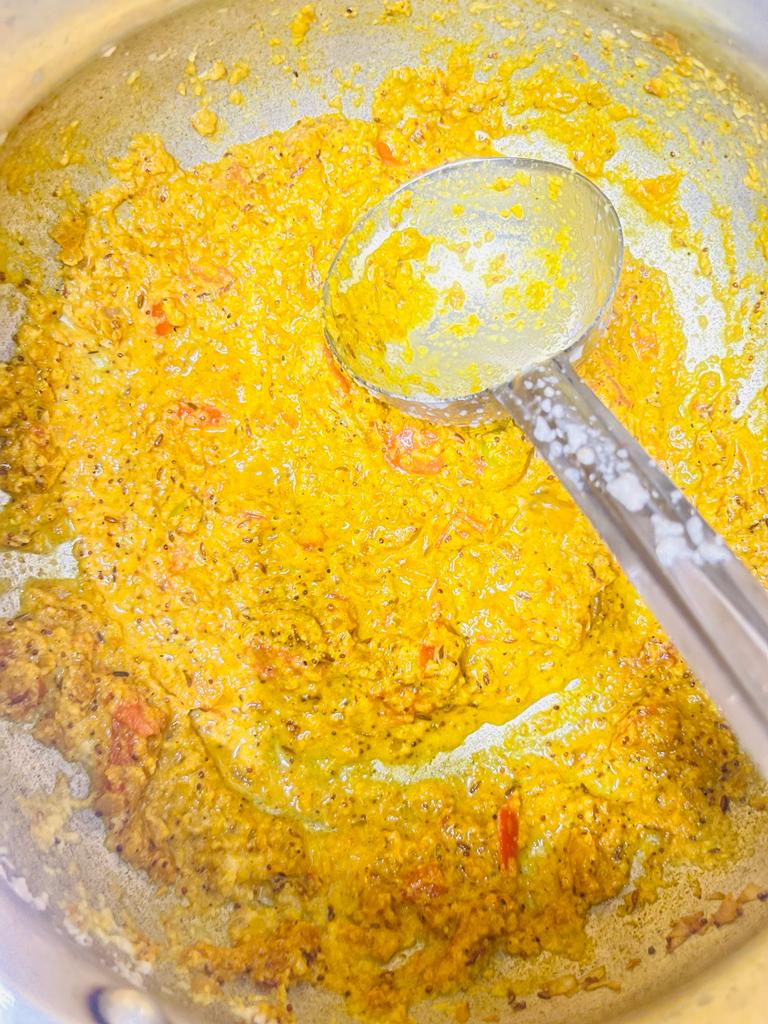
- Mix it well and Cook it until it become golden-brown in color.
- Add the soaked and drained lobia to the pressure cooker and give it a good stir.
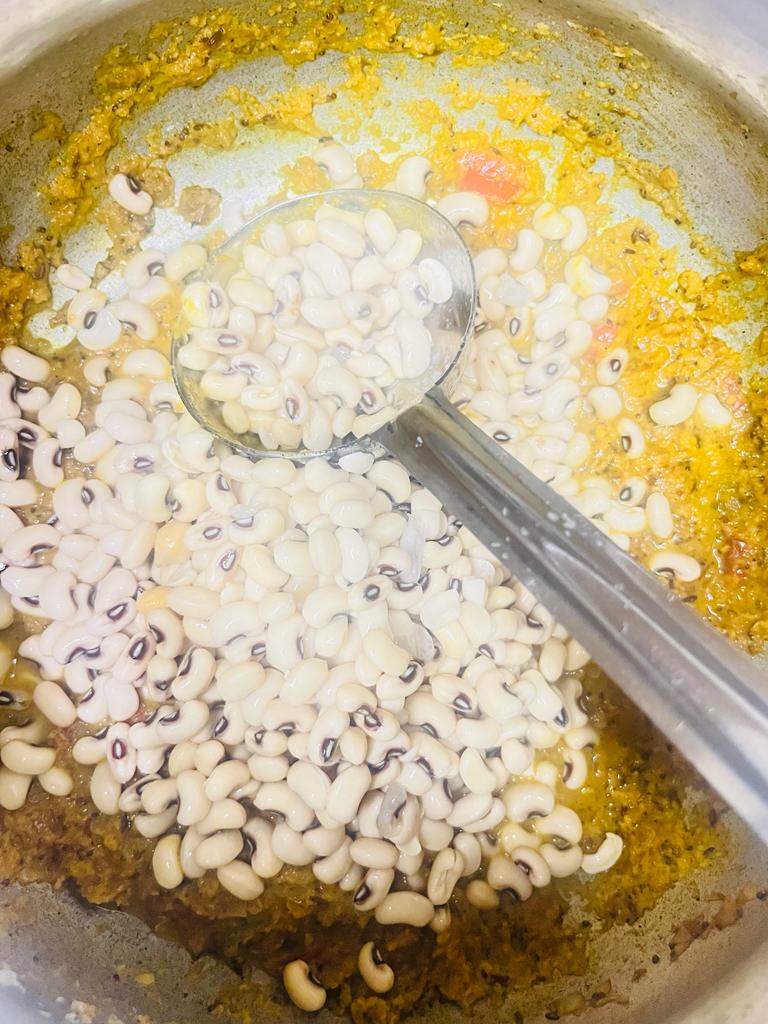
- Add enough water to cover the lobia (approximately 2 cups).

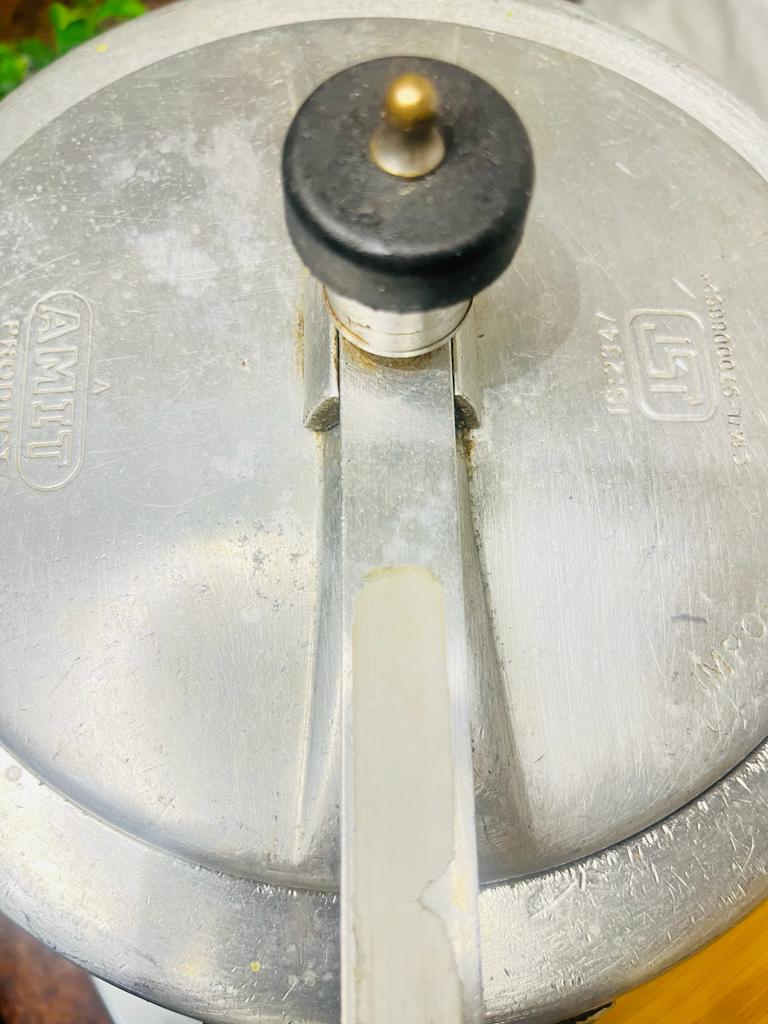
- If using a pressure cooker, close the lid and cook for 3-4 whistles or until the lobia is tender. If using a pan, cover and simmer until the lobia is cooked through (approximately 30-40 minutes), stirring occasionally.
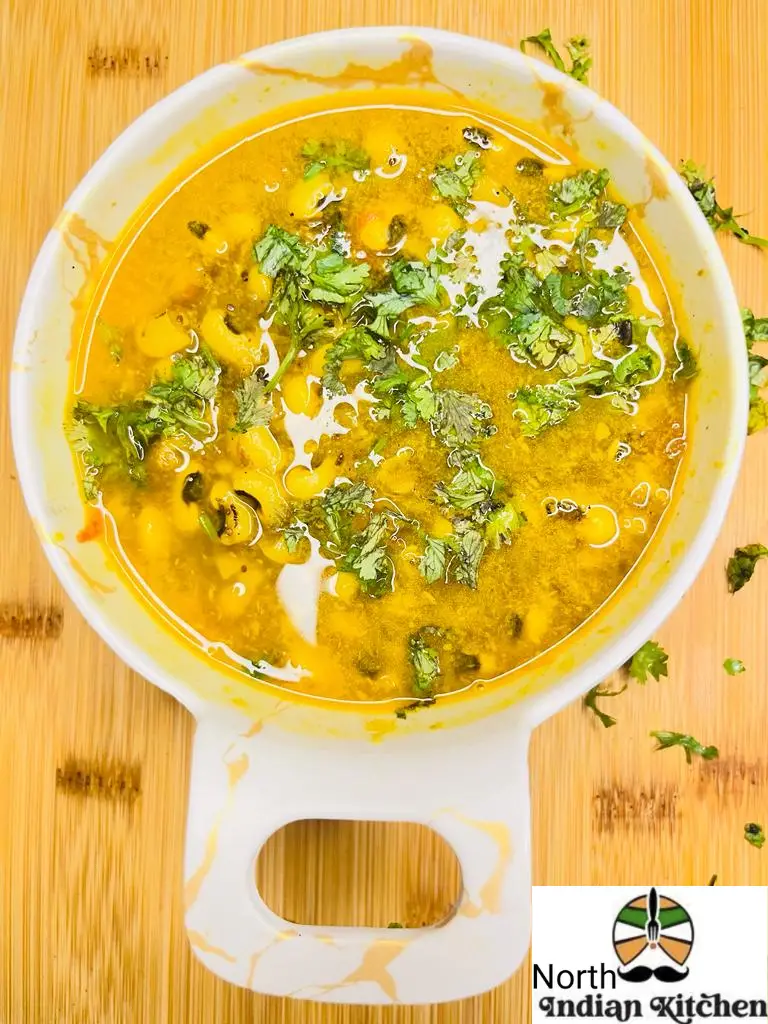
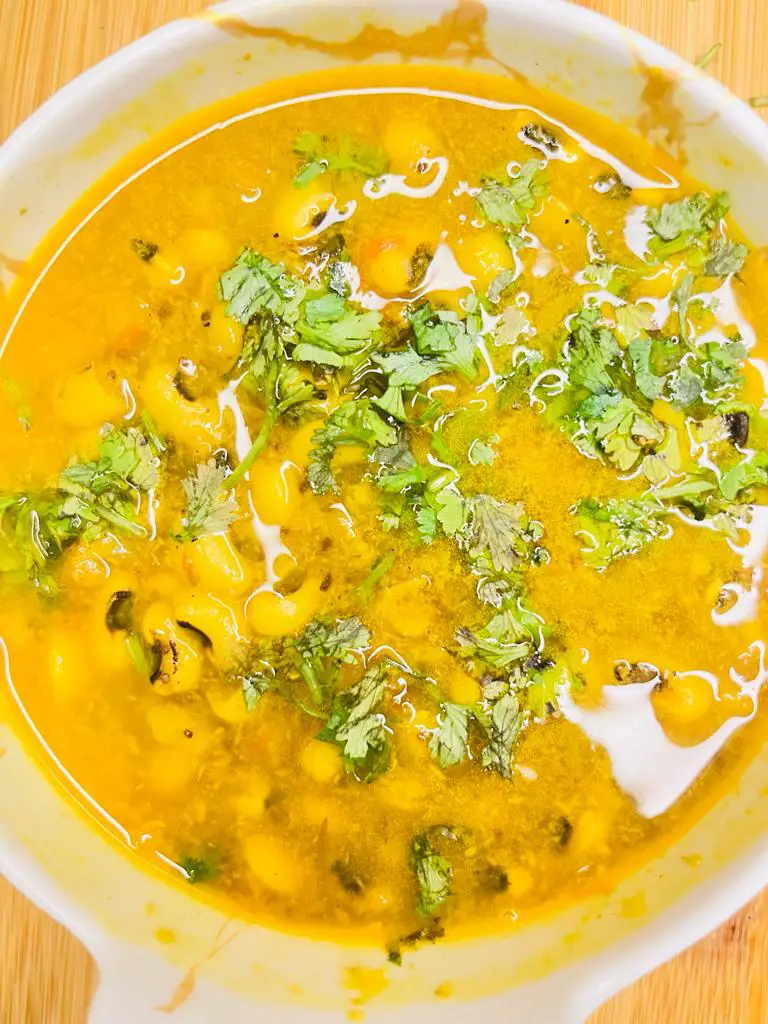
- Once the lobia is cooked garnish with freshly chopped coriander leaves.
Serving Suggestions
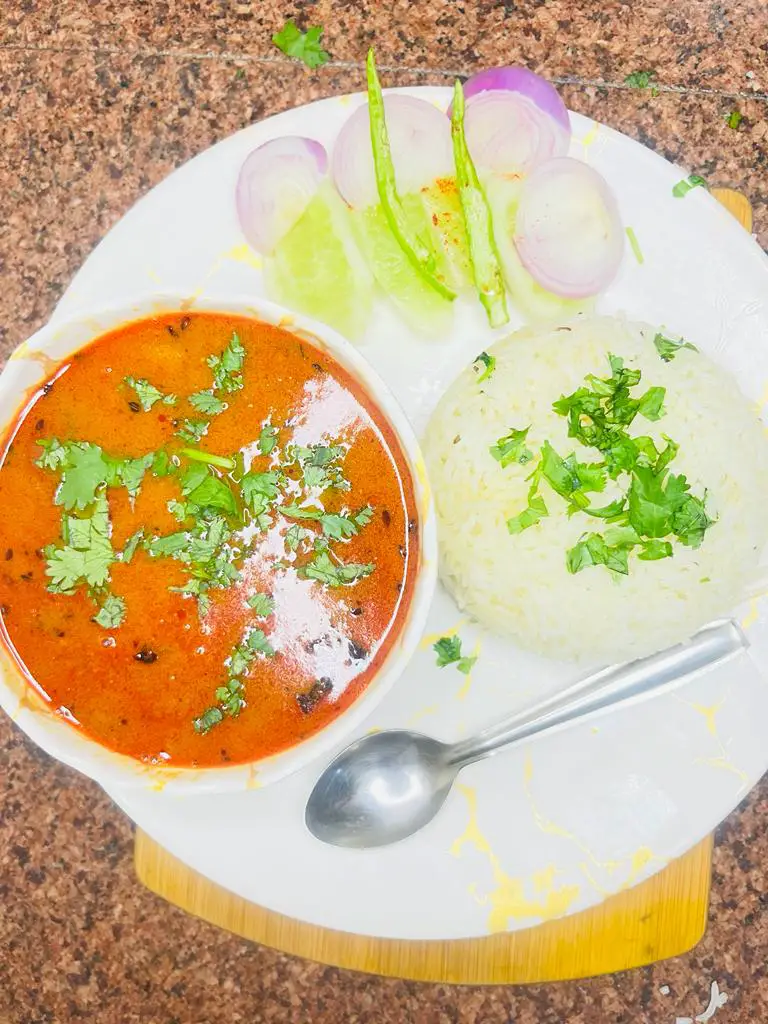
Lobia masala pairs well with steamed rice, jeera rice, veg pulao or any Indian bread like roti, naan, or paratha. You can also serve it as a side dish with biryani or pulao for a complete and satisfying meal. A dollop of yogurt or a squeeze of lemon juice on top adds a refreshing touch.
Customization and Tips
- You can add other vegetables like bell peppers, carrots, or peas to enhance the flavor and nutritional profile of the dish.
- Adjust the spice levels according to your preference. Increase or decrease the amount of red chili powder and green chili accordingly.
- Soaking lobia overnight helps in reducing the cooking time and aids in better digestion.
- If you prefer a thicker gravy, you can mash some of the cooked lobia and mix it back into the gravy.
Expert Tips
Soaking Lobia: Soaking lobia overnight before cooking helps in reducing the cooking time and aids in better digestion. It also helps to soften the legumes, resulting in a more tender and evenly cooked dish.
Flavorful Tempering: Pay attention to the tempering stage where you heat oil and add cumin seeds. This step is crucial as it releases the aromatic flavors of the cumin and enhances the overall taste of the dish. Allow the cumin seeds to splutter properly for maximum flavor.
Spice Adjustments: Adjust the spice levels according to your taste preferences. If you prefer a milder flavor, reduce the amount of red chili powder or omit the green chili altogether. On the other hand, if you enjoy spicy food, feel free to increase the spice levels accordingly.
Consistency Control: The amount of water you add during cooking determines the consistency of the lobia dish. If you prefer a thicker gravy, add less water. For a thinner consistency, add more water. Keep in mind that the lobia will absorb some liquid during the cooking process, so adjust accordingly.
Cooking Time: Cooking times may vary depending on the quality and age of the lobia. Older legumes may take longer to cook. To ensure that the lobia is cooked through and tender, taste-test it before removing from heat. It should be soft and easily mashed between your fingers.
Garnishing and Fresh Herbs: Adding fresh coriander leaves (cilantro) as a garnish not only adds a pop of color but also imparts a fresh and vibrant flavor to the dish. Consider sprinkling some chopped coriander leaves just before serving for that final touch of freshness.
Leftovers and Flavors: Lobia tends to develop more flavors when allowed to sit for a while. If possible, prepare the dish in advance or enjoy the leftovers the next day for an even more flavorful experience. Just make sure to store it properly in an airtight container in the refrigerator.
Pairing Suggestions: While lobia masala is delicious on its own, you can elevate your dining experience by pairing it with complementary sides. Consider serving it with naan bread, roti, or steamed rice. You can also accompany it with a side of raita (yogurt-based condiment) or pickles for added texture and flavors.
FAQs
Q: Can I use canned lobia instead of soaking and cooking dried lobia?
A: Yes, you can use canned lobia as a convenient alternative to dried lobia. Canned lobia is pre-cooked, so you can skip the soaking and cooking steps. However, keep in mind that canned lobia may be softer in texture compared to freshly cooked lobia. Rinse the canned lobia well before using to remove any excess sodium or preservatives.
Q: Can I freeze lobia masala for later use?
A: Yes, you can freeze lobia masala for later use. Allow the masala to cool completely before transferring it to airtight containers or freezer-safe bags. Label the containers with the date and freeze for up to 3 months. Thaw the frozen lobia masala in the refrigerator overnight and reheat it on the stovetop or microwave before serving.
Q: Can I add other vegetables to lobia masala?
A: Absolutely! Adding vegetables can enhance the flavor and nutritional value of lobia masala. Common additions include bell peppers, carrots, peas, or even spinach. Simply chop the vegetables into small pieces and add them along with the lobia during the cooking process. Adjust the cooking time accordingly to ensure that the vegetables are cooked to your desired tenderness.
Q: Is lobia masala a vegan or vegetarian dish?
A: Lobia masala can be both vegan and vegetarian depending on how it is prepared. The basic recipe provided in this blog post is vegan as it uses plant-based ingredients and does not include any dairy or animal products. However, if you choose to garnish the dish with yogurt or serve it with dairy-based accompaniments, it becomes vegetarian rather than vegan.
Q: Are there any alternative spices I can use in lobia masala?
A: Yes, you can experiment with different spices to customize the flavor of your lobia masala. Some common alternatives or additions include garam masala, coriander seeds, cinnamon, cardamom, or bay leaves. Remember to adjust the quantities according to your taste preferences and to maintain a harmonious blend of flavors.
Q: Can I use a pressure cooker to cook lobia masala?
A: Yes, a pressure cooker is a convenient and efficient tool to cook lobia masala. After adding all the ingredients, close the pressure cooker lid and cook for 3-4 whistles or until the lobia is tender. Using a pressure cooker reduces the cooking time and helps to retain the flavors and nutrients of the lobia.
If you like this recipe then try Our Other Curry Recipes:
Please be sure to rate this recipe or leave a comment below if you have made it. For more vegetarian & non – vegetarian inspirations, Sign Up for my emails or follow me on Instagram, Youtube, Facebook, or Pinterest.
Lobia Recipe Card
Equipments
Ingredients
For Coconut Puree
- 1 teaspoon Oil
- 1 inch Ginger(grated)
- 6-7 Garlic pods(minced)
- 1 large Onion(finely chopped)
- 3 tablespoons Coconut powder
- Water as required
For Lobia
- 1 cup Lobia
- 2 tablespoons Oil
- 1 teaspoon Cumin seeds
- 1 large Onion(chopped)
- 2 medium-sized Tomatoes
- 1 Green Chili
- ½ teaspoon Turmeric powder
- ½ teaspoon Red Chili powder
- 1 teaspoon Coriander powder
- ½ teaspoon Garam masala
- Salt to taste
- Water as required
- Fresh Coriander leaves (for garnishing)
Instructions
- Making Coconut PureeMake sure that 1cup lobia should be soaked in water overnight (for approximately 7-8 hours).2. Now take a pan and add 1 tablespoon oil, 1-inch ginger, grated & 6-7 garlic pods, minced.3. Add 1large finely chopped onions.4. Append 3 tablespoons coconut powder in to the pan. It will enhance the flavor.5. Mix all the ingredients well.6. Afterwards transfer the mixture to a bowl and let it cooldown at room temperature. Add 1/2 cup water in it.7. Blend the mixture through mixer grinder to form a smooth gravy. Place it aside for further use.Making Lobia8. Heat 2 tablespoons oil in a deep pan or pressure cooker and add 1 teaspoon cumin seeds. Let them splutter.9. Add 1 large chopped onions and sauté until golden brown.10. Append 2 medium-sized tomatoes & 1 finely chopped green chili.11. Add 1/2 teaspoon turmeric powder, 1/2 teaspoon red chili powder, 1 teaspoon coriander powder, 1/2 teaspoon garam masala and salt to taste. Mix well.12. Add prepared coconut puree in it.13. Mix it well and Cook it until it become golden-brown in color.14. Add the soaked and drained lobia to the pressure cooker and give it a good stir.15. Add enough water to cover the lobia (approximately 2 cups).16. If using a pressure cooker, close the lid and cook for 3-4whistles or until the lobia is tender. If using a pan, cover and simmer until the lobia is cooked through (approximately 30-40 minutes), stirring occasionally.17. Once the lobia is cooked garnish with freshly chopped coriander leaves.Your Lobia is ready to serve
Video
Notes
- Feel free to adjust the spices and seasonings according to your taste preferences.
- If you prefer a spicier dish, increase the amount of red chili powder or add additional green chilies. Similarly, if you prefer a milder flavor, reduce the spice quantities accordingly.
- If you prefer a slightly mushy texture, cook the lobia for a longer period until they become very soft. For a firmer texture, reduce the cooking time, so the lobia remain tender but retain their shape.
- You can customize it by adding your favorite vegetables, such as bell peppers, carrots, or peas.