
Homemade Masala Paneer | Masala Paneer Recipe
Here’s my favourite recipe for Homemade Masala Paneer. I infuse the cheese with a handful of herbs and spices to give it a beautiful flavour and colour from within.
My recipe uses ground black pepper, ginger, chilli flakes and fresh coriander leaves.
I’ve made different style homemade paneer in another blog and it was also a mouthwatering & finger liking dish and was loved by my family as well as my blog visitors.
However, you can customise your block of Homemade Masala Paneer to your taste by using your favourite herbs and spices.
My recipe has been perfected over the years to produce a soft and squidgy cheese that cubes and slices beautifully for curries and crumbles like a dream for paratha, kulcha, samosa and bhurji. Whether you want to make cubes for Paneer Pakode, Matar Paneer & Shahi Paneer , crumble it for Paneer Kulcha or use the drained and kneaded chhena for making Rasmalai.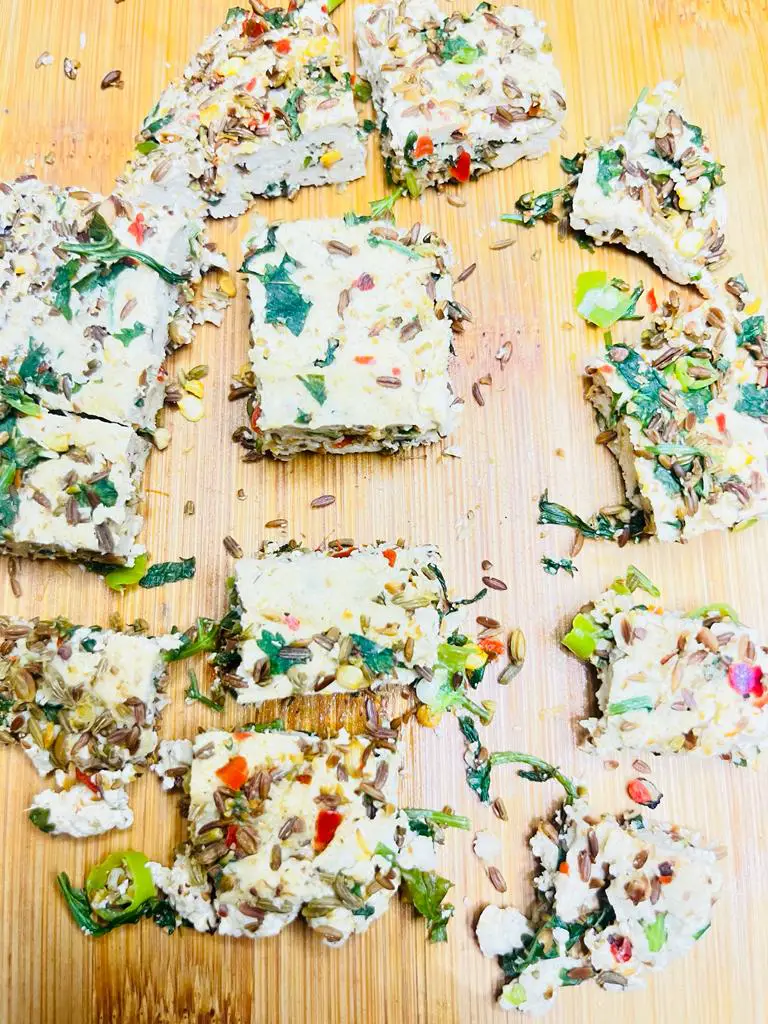
How to use Homemade Masala Paneer
You can of course, use it fresh, just as it is for a melt-in-the-mouth texture, or pan-fry it to create a crispy, golden crust.
It’s also a delicious addition to Indo-Chinese favourites like Chilli Paneer and Paneer Manchurian.
How to make Masala Paneer
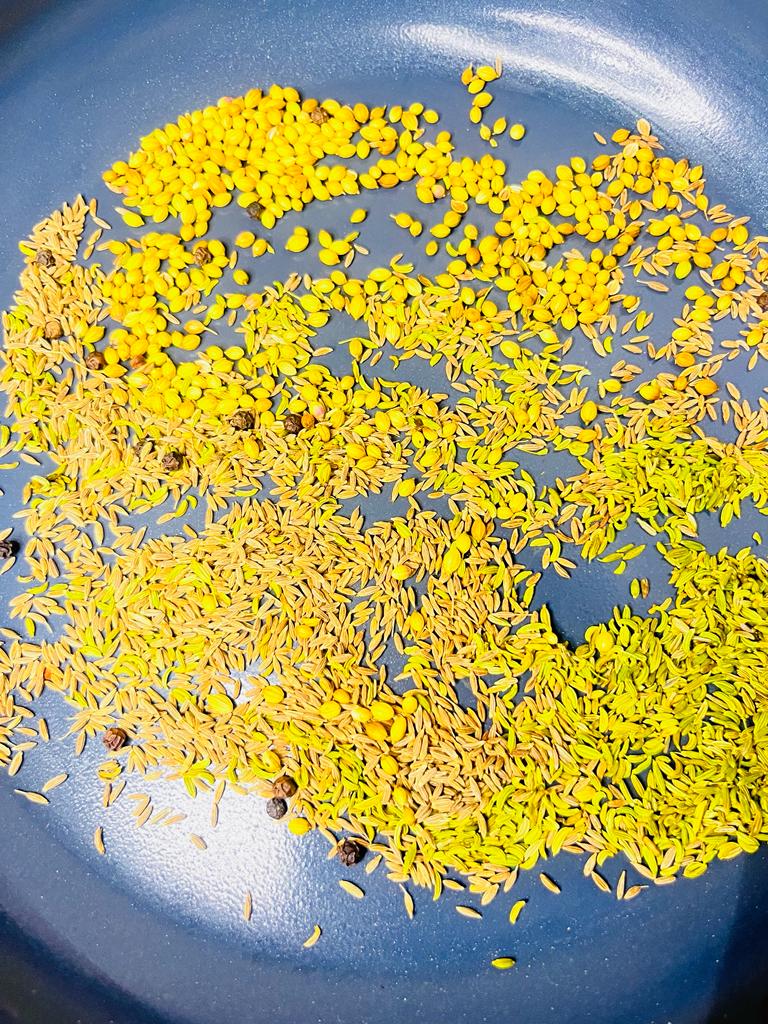
- Set a pan on medium low heat, add 2 tsp Jeera (cumin seeds ), 2 tsp Sukha dhaniya (coriander seeds)9-10 nos Sabut kaali mirch ( black peppercorns ), 2 tsp Saunf (fennel seeds) and dry roast them until fragrant, remove it on the plate and cool down to room temperature.
- Transfer the roasted spice in mortar & pestle, Further add a pinch of salt and red chilli flakes.
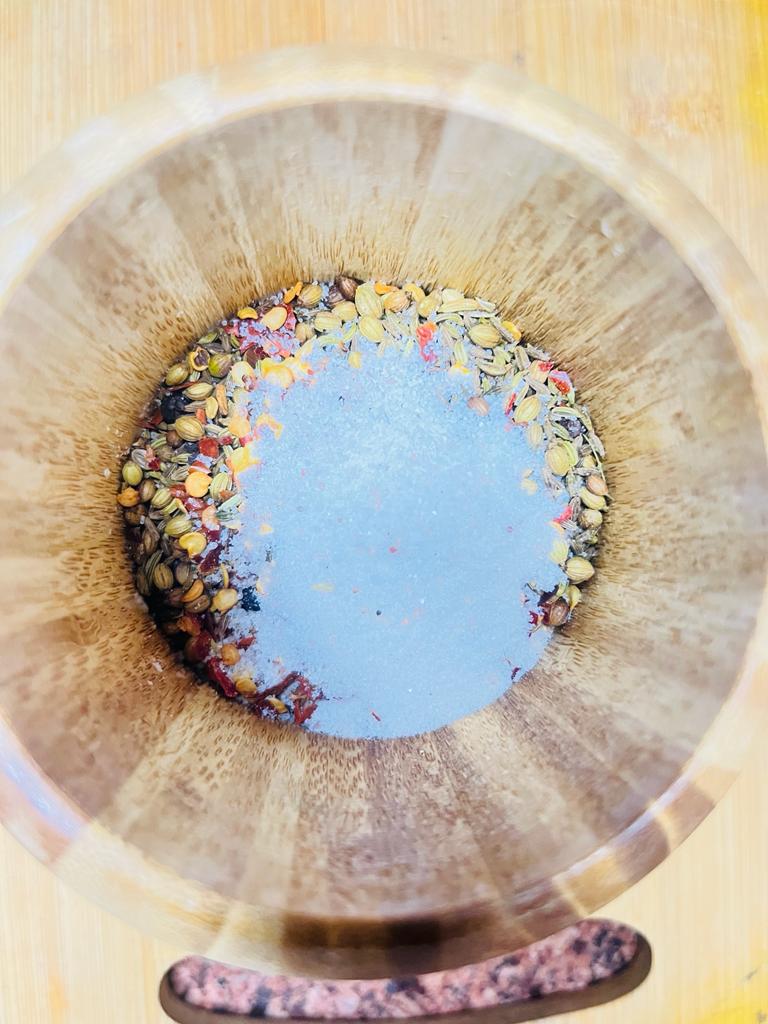
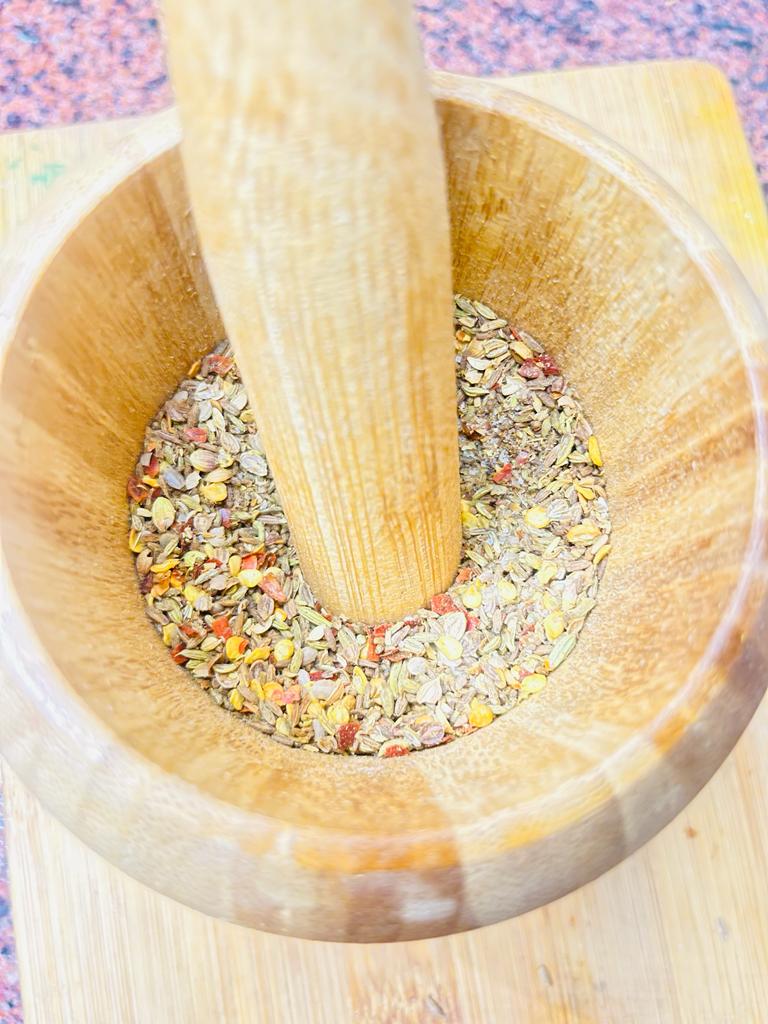
- Grind it coarsely. You can also choose to do it in a grinder, but grind it coarsely, keep it aside to be used later.
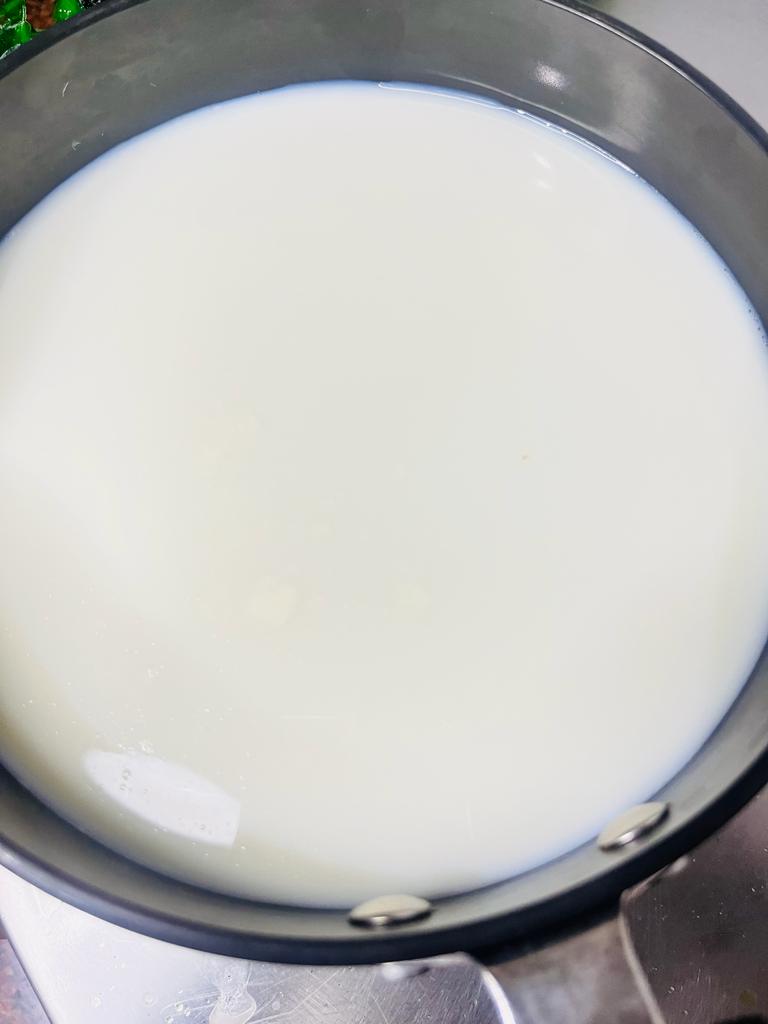
- Set a deep base vessel on medium low heat, add milk, bring it to a boil while stirring in short intervals.
- Lower the flame and the grounded spices, freshly chopped green chillies and coriander leaves, stir well for 1-2 minutes.

- In a separate bowl, add vinegar and water and mix together, add the mixture to the milk while stirring continuously.
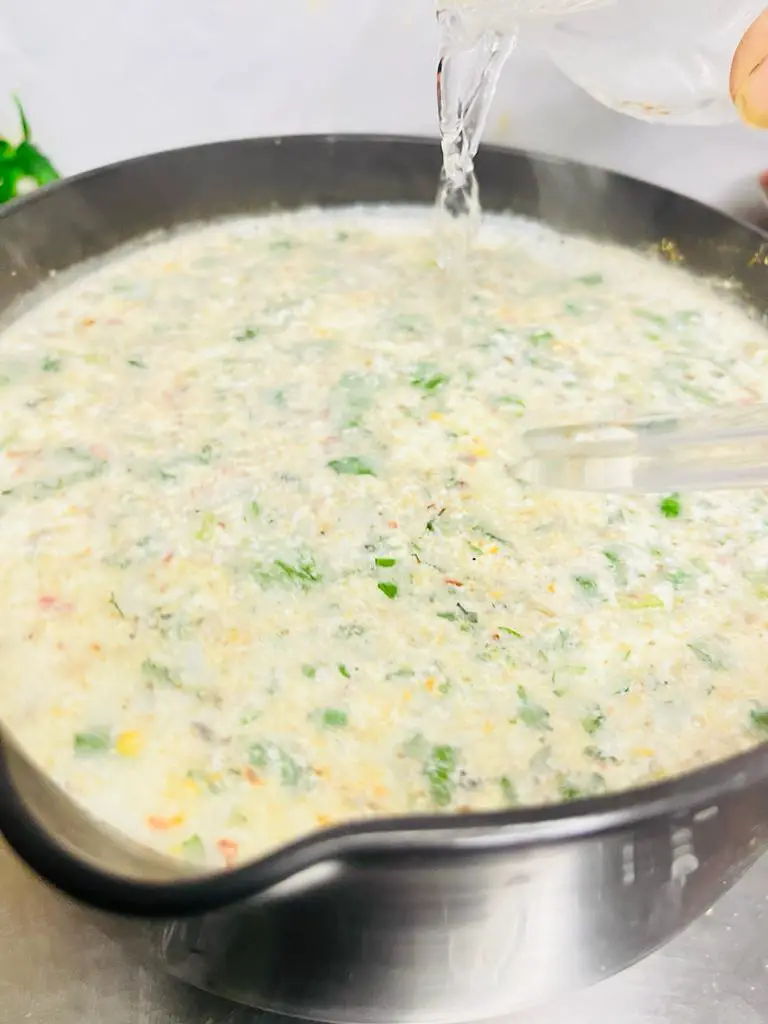
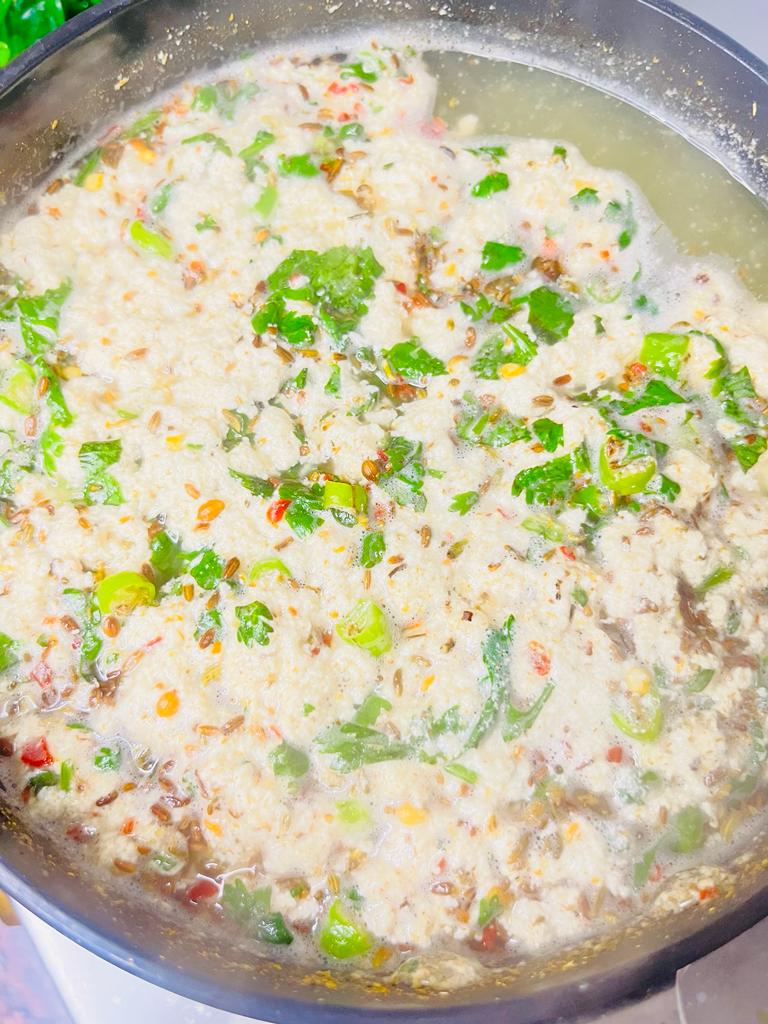
- You”ll notice the milk has started to curdle, add the mixture slowly until the milk solids has separated completely.
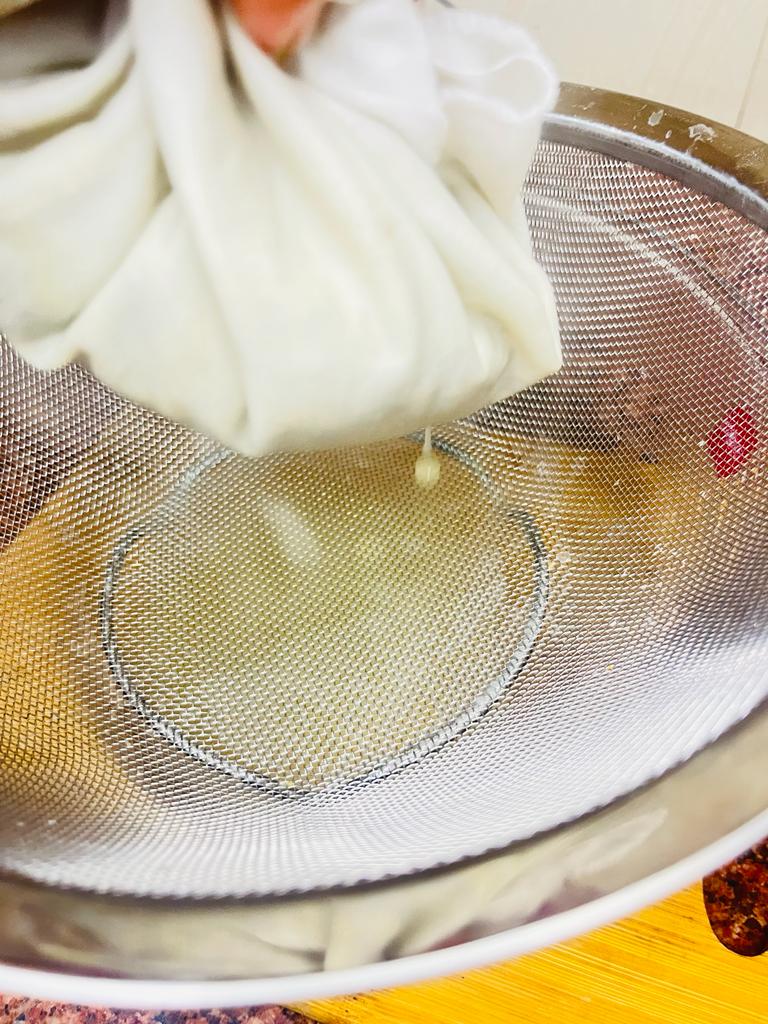
- Put a muslin cloth in a strainer and strain the curdled milk.
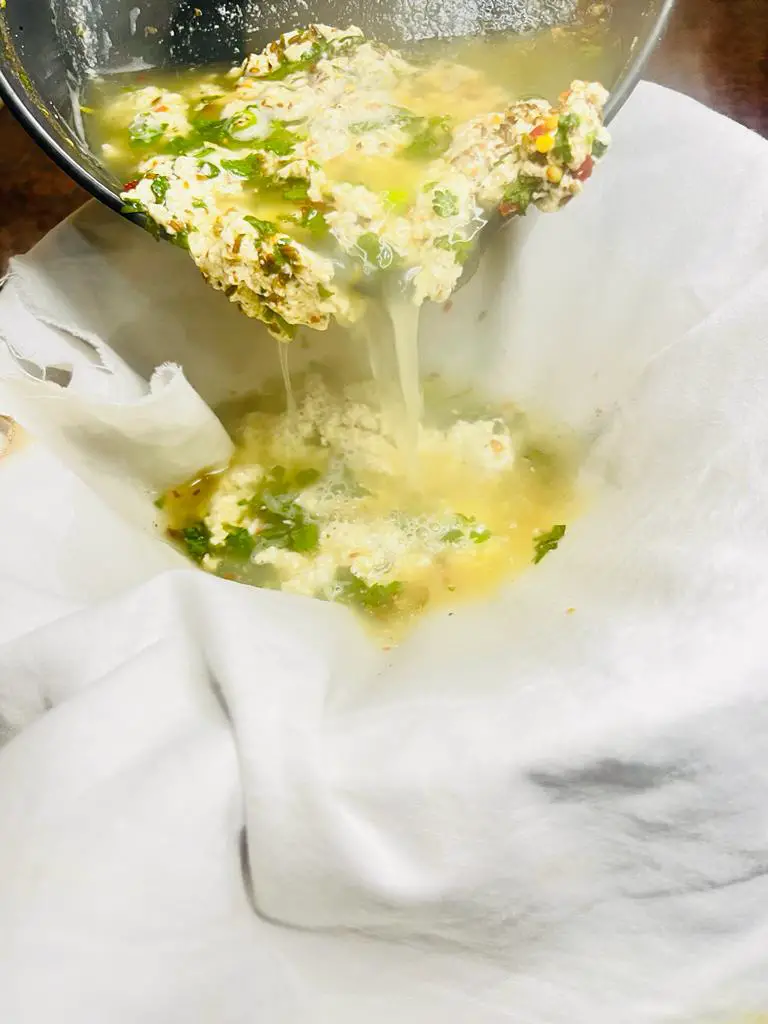
- Lift the muslin cloth so the excess water get separated, do not use hands as it is vey hot. The water is very nutritious preserve it and use it in kneading dough or can be a healthier substitute for veg stock.
- Wash the paneer completely with fresh water to remove the sour taste of vinegar.
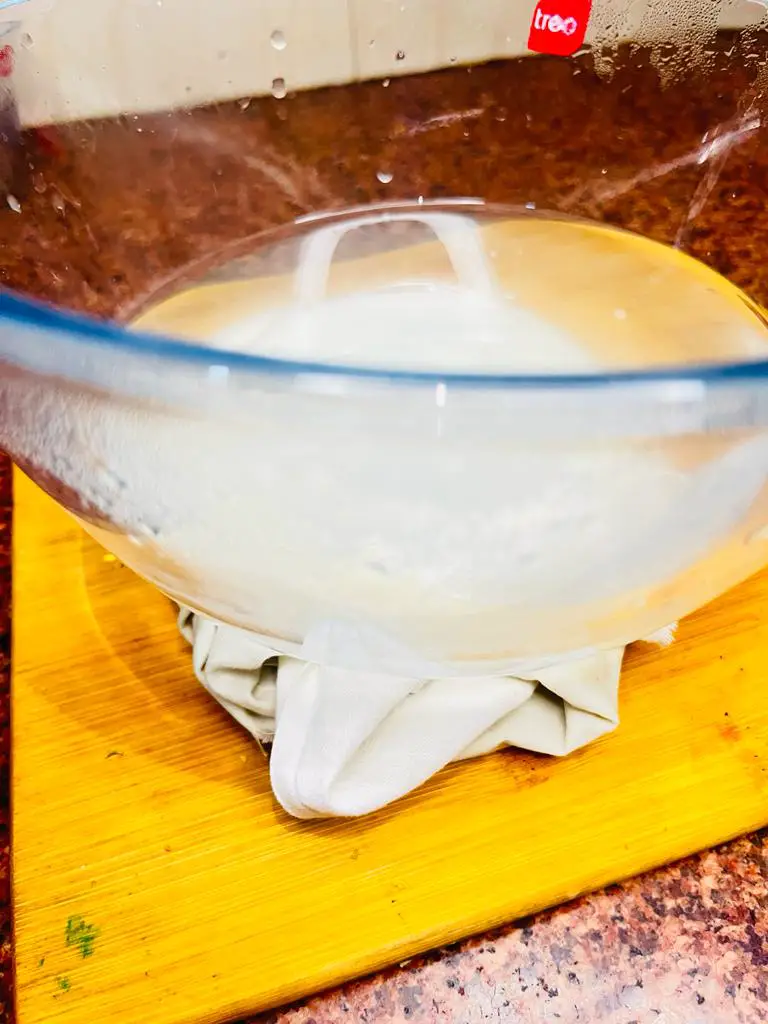
- Now, let the curdled milk be the muslin cloth and fold the cloth, put a heavy object over it for at least 1 hour, so the milk solids come together and the excess why is drained.
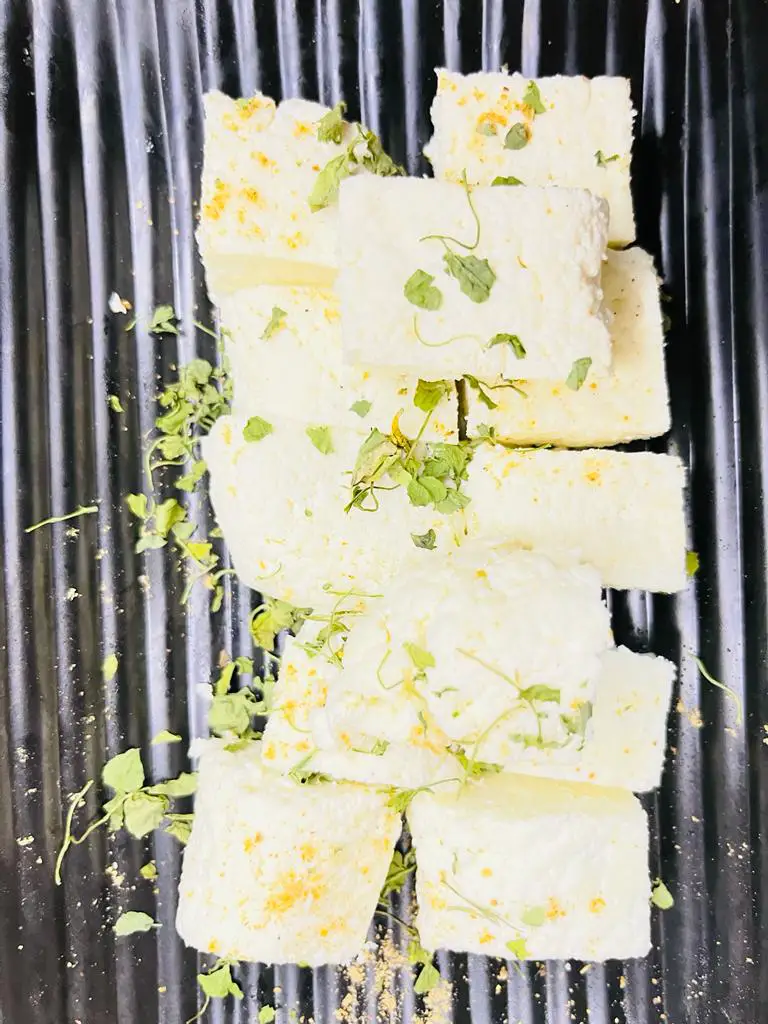
- Last but not the least open the muslin cloth and cut the masala paneer into small pieces.
Your masala paneer is ready.
Expert Tips
Choose the right milk: For the best results, use full-fat milk to make paneer. The higher fat content in the milk helps in achieving a creamy and rich texture.
Use lemon juice or vinegar as a coagulant: To curdle the milk and separate the whey, you can use lemon juice or vinegar. These acidic ingredients help in coagulating the milk proteins and forming curds. Start with a small amount and gradually add more if needed.
Straining the curds: Once the milk has curdled, strain the curds using a fine cheesecloth or a muslin cloth. Squeeze out the excess whey gently, taking care not to break the curds.
Pressing the paneer: To remove any remaining whey and achieve a firm texture, place the strained curds in a muslin cloth and press them under a heavy object. This helps in compacting the curds and shaping them into a solid block.
Allow the paneer to set: After pressing, let the paneer rest for at least 1-2 hours to set and firm up. This will ensure that the paneer holds its shape when cut into cubes or used in recipes.
Cut paneer cubes with care: When cutting paneer into cubes, use a sharp knife and do it gently to prevent the cubes from crumbling or breaking apart.
Pan-frying or shallow frying: If you prefer a slightly crispy texture, you can lightly pan-fry or shallow fry the paneer cubes before adding them to the masala. This step adds a delicious golden crust to the paneer.
Soak paneer in warm water: If your paneer has turned out too firm or dry, you can soak the cubes in warm water for a few minutes before using them in a recipe. This helps in softening the paneer and making it more tender.
Marinate the paneer: For enhanced flavor, consider marinating the paneer cubes in a mixture of yogurt and spices for about 30 minutes before cooking. This step allows the paneer to absorb the flavors and results in a more flavorful dish.
Simmer gently: When cooking paneer in the masala sauce, avoid high heat as it can make the paneer rubbery. Instead, simmer the dish gently, allowing the paneer to absorb the flavors of the spices without becoming tough.
FAQs
Q. What kind of milk do I need for making paneer?
A. Full-fat milk (at least 3% fat) produces good quality paneer. Try to find the least homogenised, least processed milk possible for better yield. If the milk is overly processed, it will not curdle or may only produce a small amount of curds. This is because the heating process integral to long shelf life damages the proteins in the milk.
Q. Do I have to use lemon juice in the curdling process?
A. No, you can also use vinegar, citric acid, yoghurt or even leftover whey from a previous batch of paneer to curdle the milk. See my note above for quantities.
Q. How do I stop the milk burning the base of the pan?
A. Some people advocate a small amount of water in the bottom of the pan. I’m not one of those people and that would only dilute our lovely full-fat milk. Instead, I prefer to rub the base of the pan with oil. Anything milk that burns will lift off easily once you’re done making the paneer. Don’t scrape the base of the pan when making paneer as the burnt bits can lift off and leave your cheese speckled with burnt milk solids.
Q. Can I use low-fat milk to make paneer?
A. You can, however, the yield will be much less depending on fat content and it may also be quite firm to eat.
Q. Can I use cream to make paneer for softer paneer?
A. I would advice mixing both full-fat milk and cream (a 3:1 ratio). Using pure cream may be too fatty and may prevent the paneer from setting.
Q. How much paneer does this recipe make?
A. You need 350gm but it may vary with the person’s numbers.
Q. Can I make paneer from spoiled milk?
A. Yes. Simply bring it to the boil in a large, heavy-based pan and the sourness of the milk will cause a natural separation to occur. Strain the milk as directed in my recipe below.
Q. Help! My milk won’t curdle, what should I do now?
A. Add more of your chosen acid, e.g. lemon juice, little by little whilst stirring gently in a figure of eight motion. If the milk still doesn’t separate, your milk may be too processed/filtered to make paneer. Don’t worry, you can still use it as buttermilk for baking.
Q. What can I do with leftover whey?
A. The possibilities are endless! Use it in sweet and savoury baking, in particular, cake and bread baking. You can also use leftover whey for making Indian bread like roti, thepla, naan, paratha and bhatura. Or add it to your morning smoothies for a low-fat protein boost. Kadhi made with leftover whey is deliciously sour. Leftover whey can even be used to separate more milk for making paneer again. It’s super nutritious and versatile. Keep it bottled in a clean container for up to 2 weeks.
Q. Can I freeze paneer?
A. Sure! Wrap it well and freeze for up to 3 months, Defrost at room temperature and eat within 48 hours.
Q. How long can I keep fresh paneer in the fridge?
A. This perfect homemade paneer will keep well in the fridge for up to 3 days. Wrap it well to ensure it doesn’t dry out.
If you like this recipe then must try other Paneer Recipes also:
Please be sure to rate this recipe or leave a comment below if you have made it. For more vegetarian & non – vegetarian inspirations, Sign Up for my emails or follow me on Twitter, Instagram, Youtube, Facebook, or Pinterest.
Masala Paneer Recipe Card
Equipments
Ingredients
- 1 litre Milk
Grounded Spices
- 4 Green Chillies (chopped)
- 1 tablespoon Fresh Coriander (chopped)
- 2 tablespoon Vinegar
- ½ cup Water
For Masala
- 2 teaspoon Cumin seeds (jeera)
- 2 teaspoon Coriander seeds (sukha dhaniya)
- 9-10 Black Pepper corns (sabut kali mirch)
- 2 teaspoon Fennel seeds (saunf)
- ¼ teaspoon Freshly-ground Black Pepper
- ½ teaspoon Chilli Flakes
- ½ teaspoon Ginger & Garlic paste (grated)
- 1 tablespoon Fresh Coriander (chopped)
Instructions
- Set a pan on medium low heat, add 2 tsp Jeera (cumin seeds), 2 tsp Sukha dhaniya (coriander seeds)9-10 nos Sabut kaali mirch ( black pepper corns ), 2 tsp Saunf (fennel seeds) and dry roast them until fragrant ,remove it on the plate and cool down to room temperature.2. Transfer the roasted spice in mortar & pestle, Further add a pinch of salt and red chilli flakes.3. Grind it coarsely. You can also choose to do it in a grinder, but grind it coarsely, keep it aside to be used later.4. Set a deep base vessel on medium low heat, add milk, bring it to a boil while stirring in short intervals.5. Lower the flame and the grounded spices, freshly chopped green chillies and coriander leaves, stir well for 1-2 minutes.6. In a separate bowl, add vinegar and water and mix together, add the mixture to the milk while stirring continuously.7. You"ll notice the milk has started to curdle, add the mixture slowly until the milk solids has separated completely.8. Put a muslin cloth in a strainer and strain the curdled milk.9. Lift the muslin cloth so the excess water get separated, do not use hands as it is vey hot. The water is very nutritious preserve it and use it in kneading dough or can be a healthier substitute for veg stock.10. Wash the paneer completely with fresh water to remove the sour taste of vinegar.11. Now, let the curdled milk be the muslin cloth and fold the cloth, put a heavy object over it for at least 1 hour, so the milk solids come together and the excess why is drained.12. Last but not the least open the muslin cloth and cut the masala paneer into small pieces.Your masala paneer is Ready
Video
Notes
- My preference is to use lemon juice to curdle the milk. This can be either fresh or bottled lemon juice.
- You can also use vinegar, citric acid, yoghurt or even leftover whey from a previous batch of paneer to curdle the milk. For 2.5L milk you’ll need the following quantities of each:
Great recipe for health. Thanks North Indian Kitchen for such good and tasty recipes.
Thanks for your feedback. We are very glad that you like our recipes.