
Indian Cottage Cheese in 15 minutes | Easy Home Made Paneer Recipe
The second name of the cheese is Paneer and it is also known as Indian cottage cheese, is a versatile and mouthwatering ingredient used in various dishes throughout Indian cuisine. Its creamy and milky flavor adds a unique richness to curries, appetizers, and desserts. Making paneer at home is not only easy but also guarantees a fresh and delicious outcome. Today, I will guide you through the process of making homemade paneer that you can use in your favorite recipes and impress your family and friends with your culinary skills!
We can use this homemade paneer while garnishing over the pav bhaji and in making various burgers like aloo tikki burger, veggie burger and most importantly in paneer patty burger.
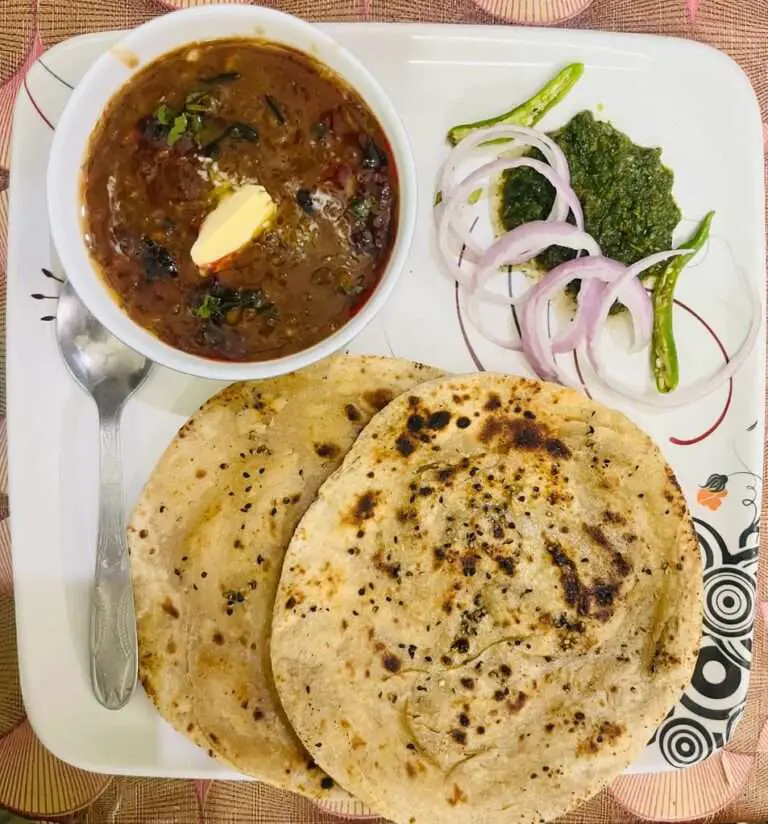
This versatile and delicious ingredient can now be used to elevate your Indian dishes, such as shahi paneer, matar paneer, chili paneer, or even desserts like rasmalai. The satisfaction of creating something from scratch and the incredible taste of your homemade paneer will undoubtedly make your efforts worthwhile. Enjoy your culinary journey and explore the endless possibilities of incorporating paneer into your favorite dishes!
I’ve made different style homemade masala paneer earlier and it was also a mouthwatering & finger liking dish and was loved by my family as well as my blog visitors.
Instructions (Step by Step with Pics)
Step 1: Preparing the Milk
- Pour the whole milk into a heavy-bottomed pot and place it on medium heat.
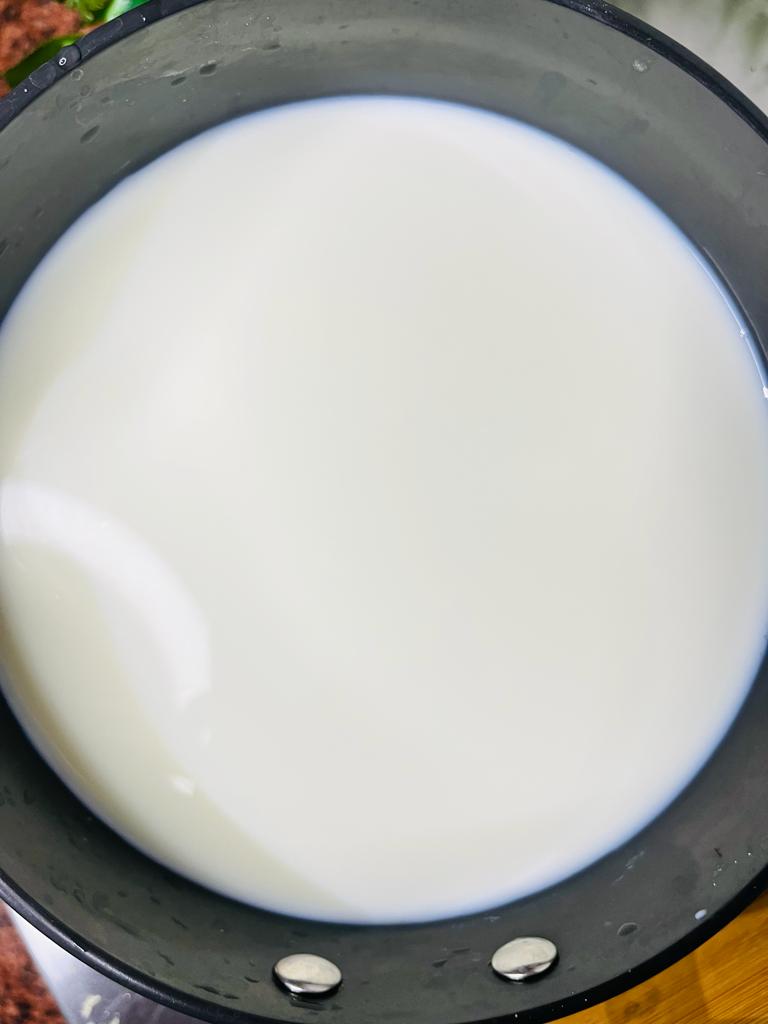
- Stir the milk occasionally to prevent it from sticking to the bottom of the pot and to avoid scorching. Heat the milk until it reaches a gentle boil. Keep an eye on it to avoid boiling over.
Step 2: Curdling the Milk
- Once the milk starts boiling, lower the heat to medium-low and add 5-6 tablespoons of curd or lemon juice or white vinegar to the milk.
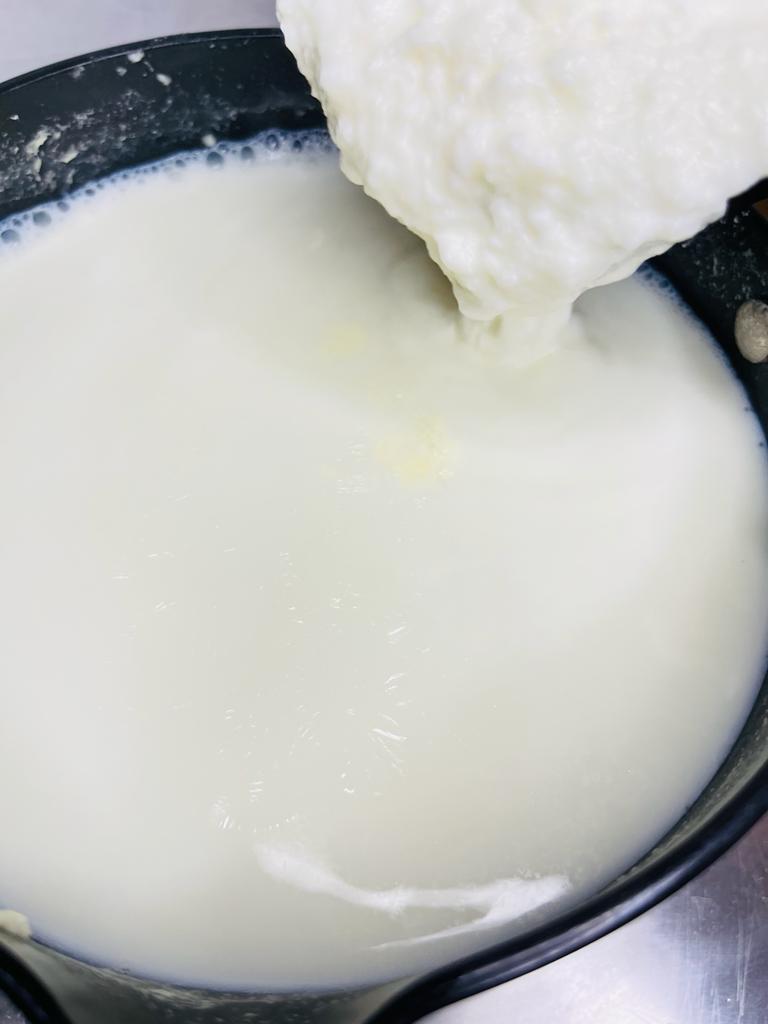
- Stir the milk gently, and you will notice it starting to curdle. The curds (solid part) will separate from the whey (liquid part).
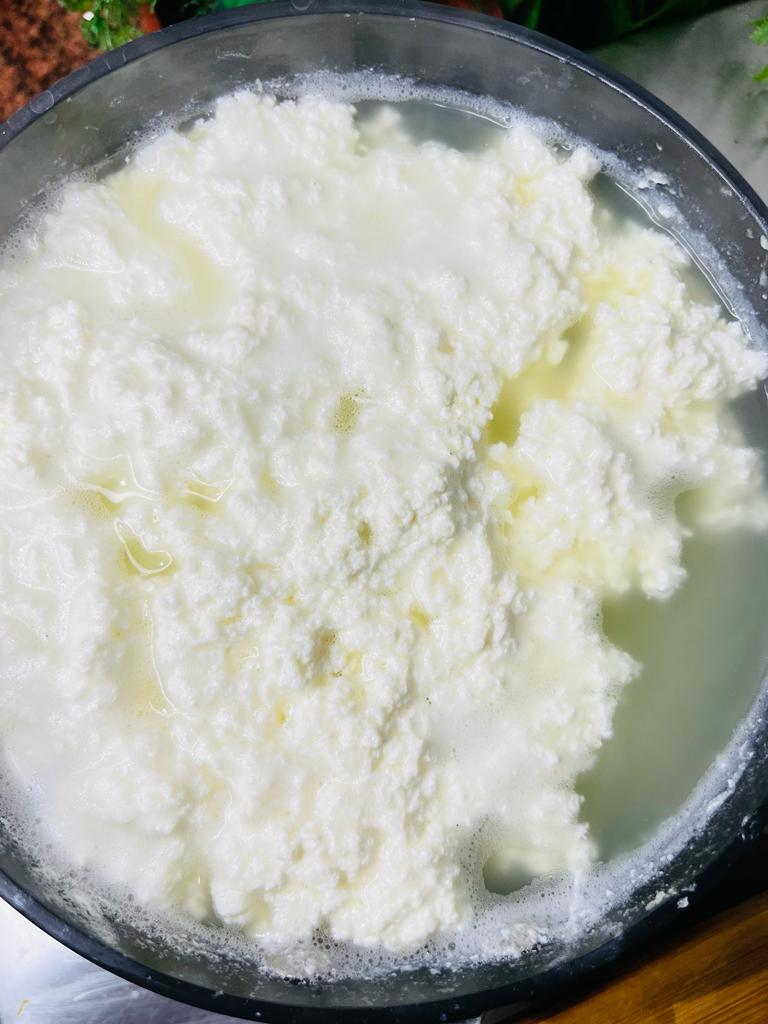
If you find that the milk hasn’t fully curdled, add a little more lemon juice or vinegar until the curds and whey are completely separated.
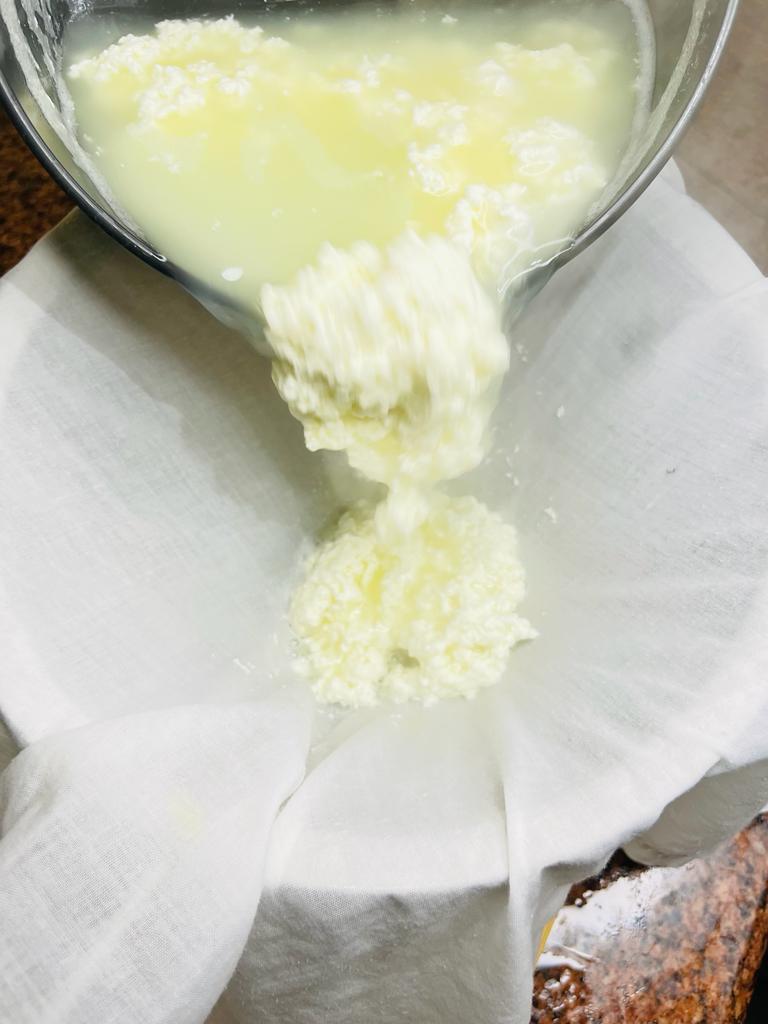
Step 3: Straining the Paneer
- Line a large colander with a double layer of cheesecloth or muslin cloth.
- Carefully pour the curdled milk through the cheesecloth to strain the curds. The whey will pass through the cloth and collect in the bowl.
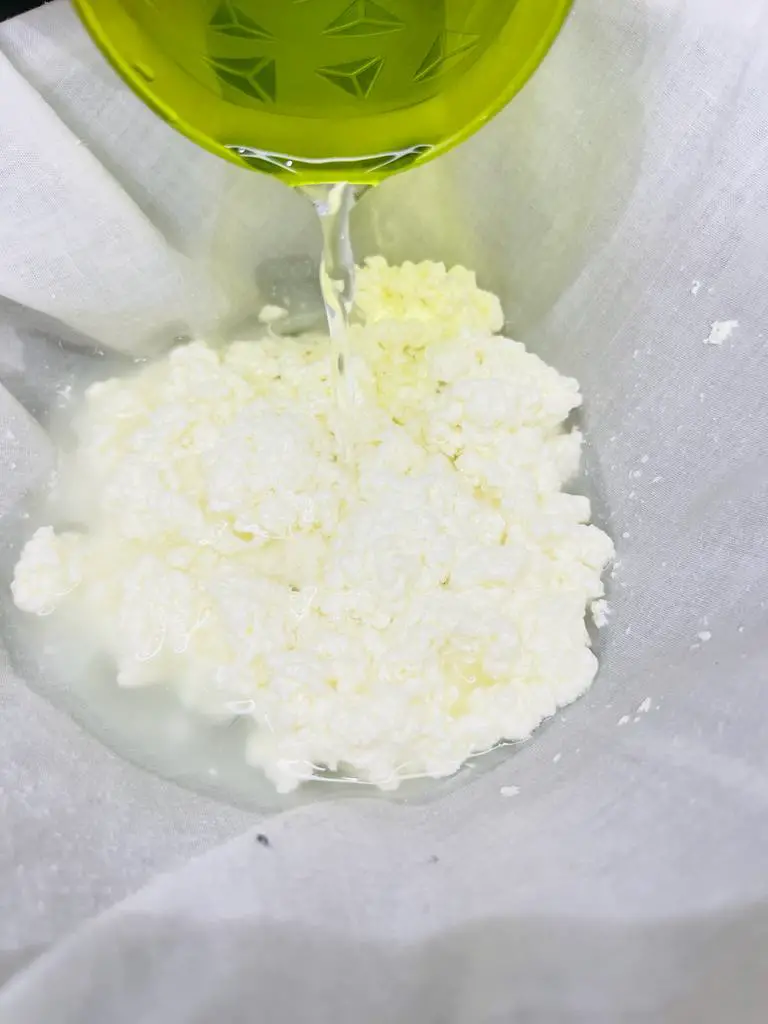
- Rinse the curds under cold running water to remove any traces of lemon juice or vinegar. This step is essential as it prevents the paneer from having a sour taste.
- Gather the edges of the cheesecloth and tie it securely to form a pouch containing the paneer.

- Hang the pouch with the paneer over the sink or place a large bowl over it and let it drain for about 30 minutes to remove excess whey.
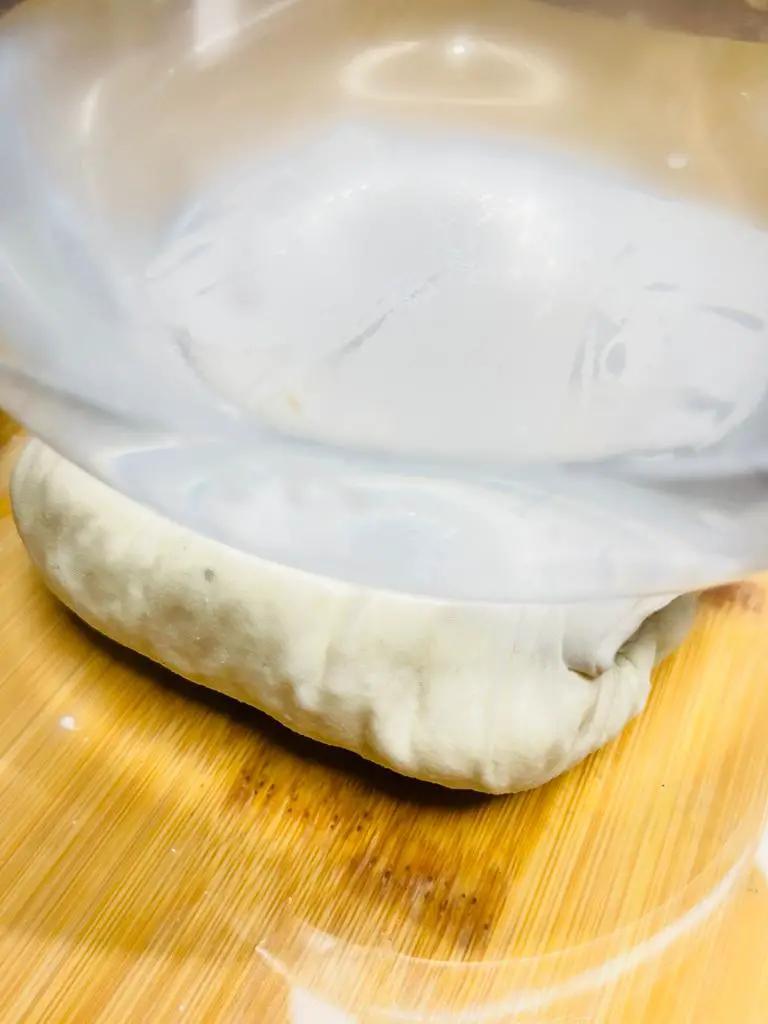
Step 4: Shaping the Paneer
- Remove the paneer pouch from the colander and gently press it to get rid of any remaining whey.
- Place the wrapped paneer on a flat surface and shape it into a block or a flattened disc.
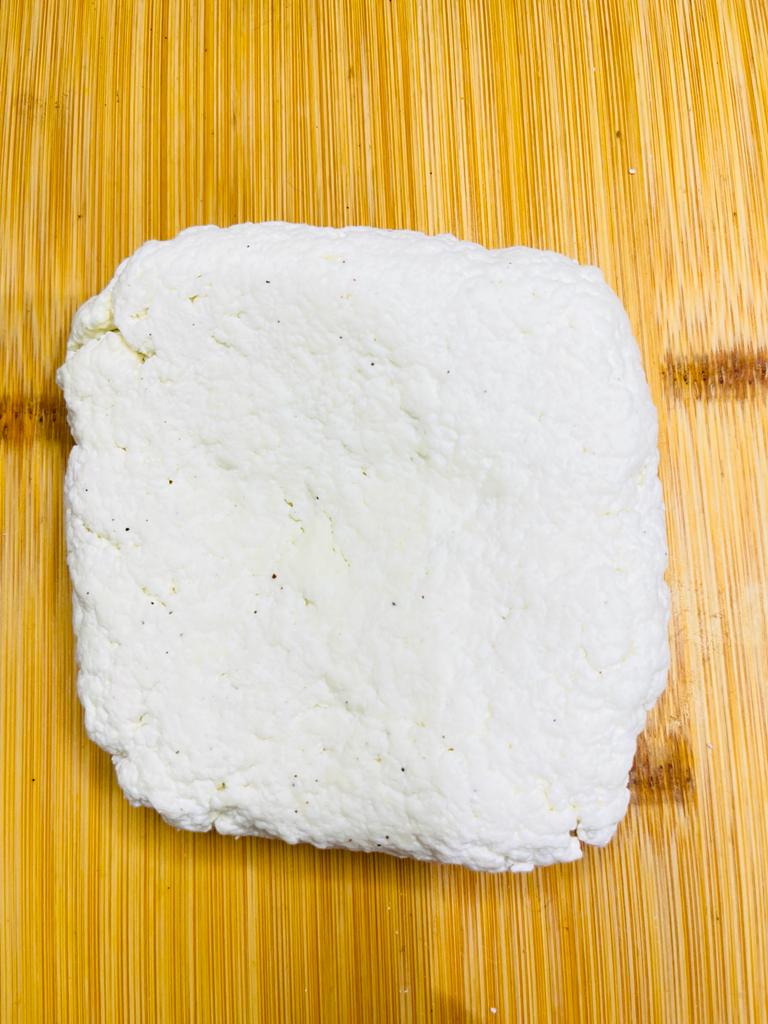
- To achieve a firmer texture, you can place a heavy object (like a cast-iron skillet or a plate with a weight on top) over the paneer for an hour or two.
Step 5: Storing the Paneer
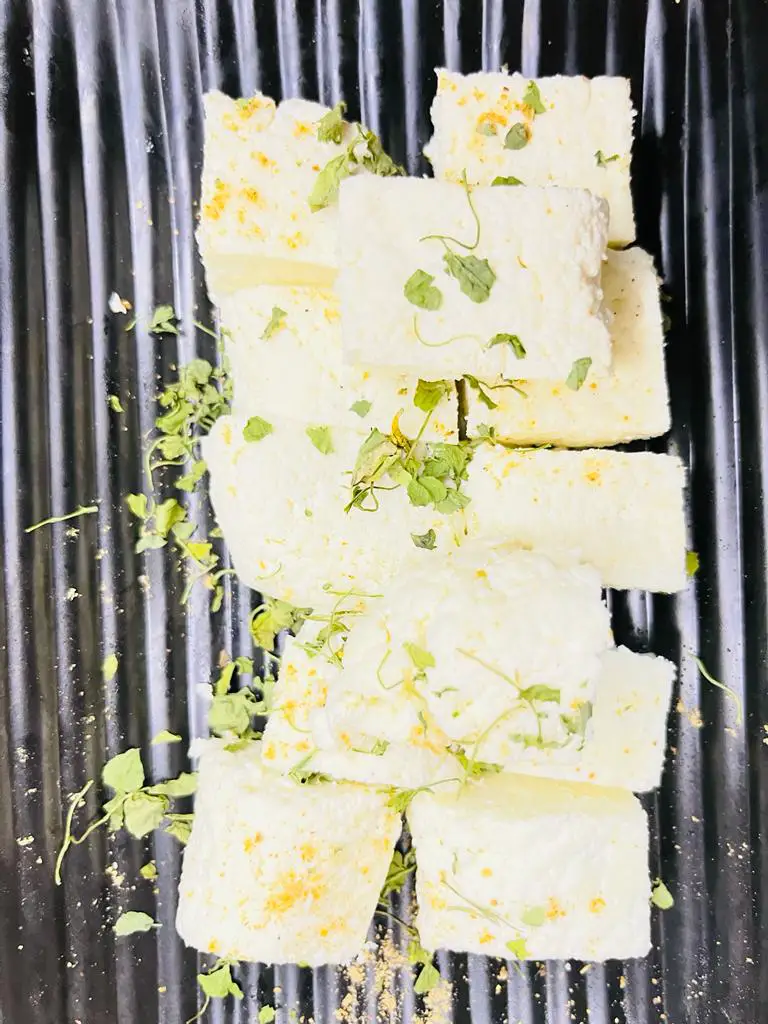
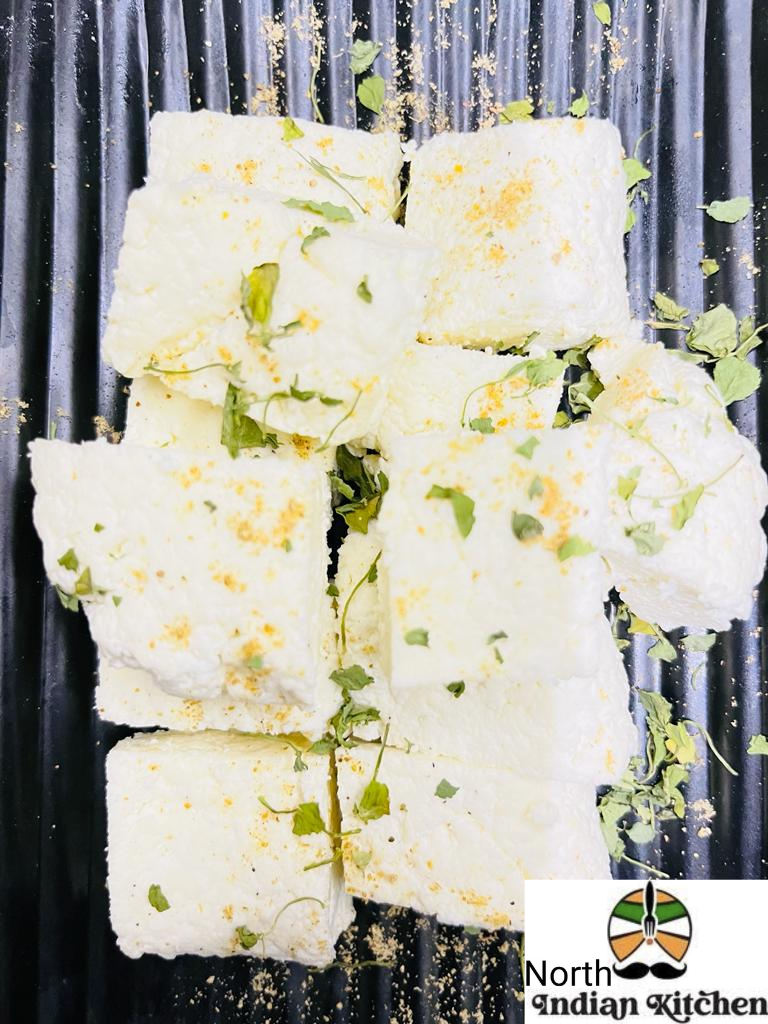
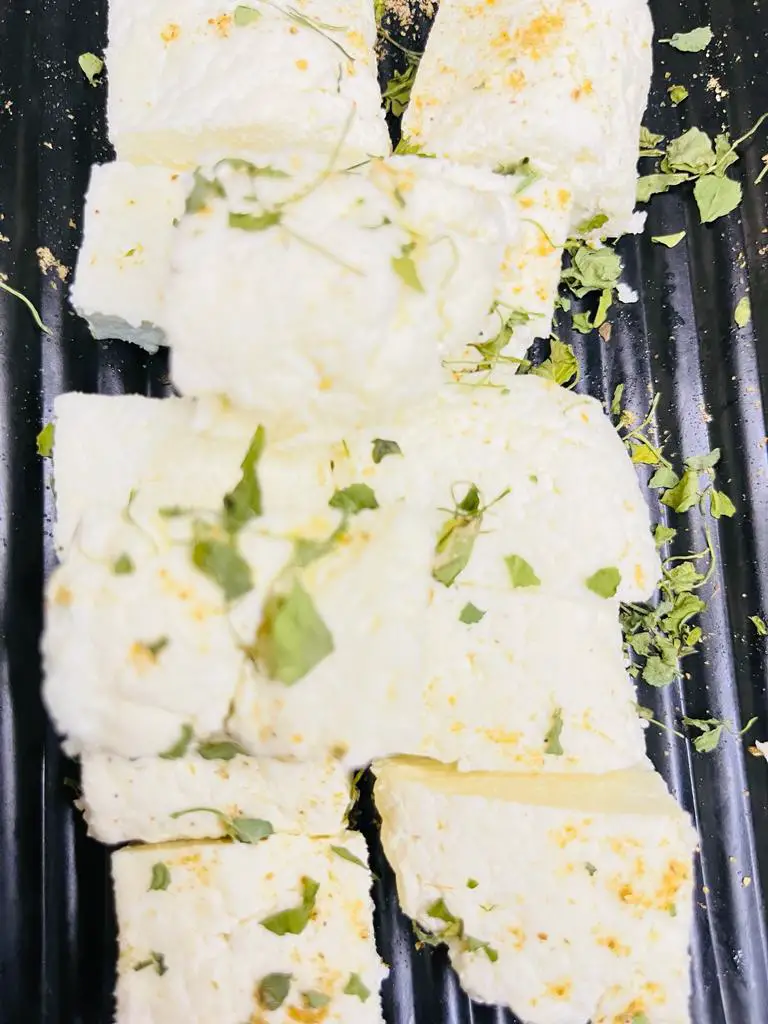
- Once the paneer has set, unwrap it and cut it into cubes or slices as per your preference.
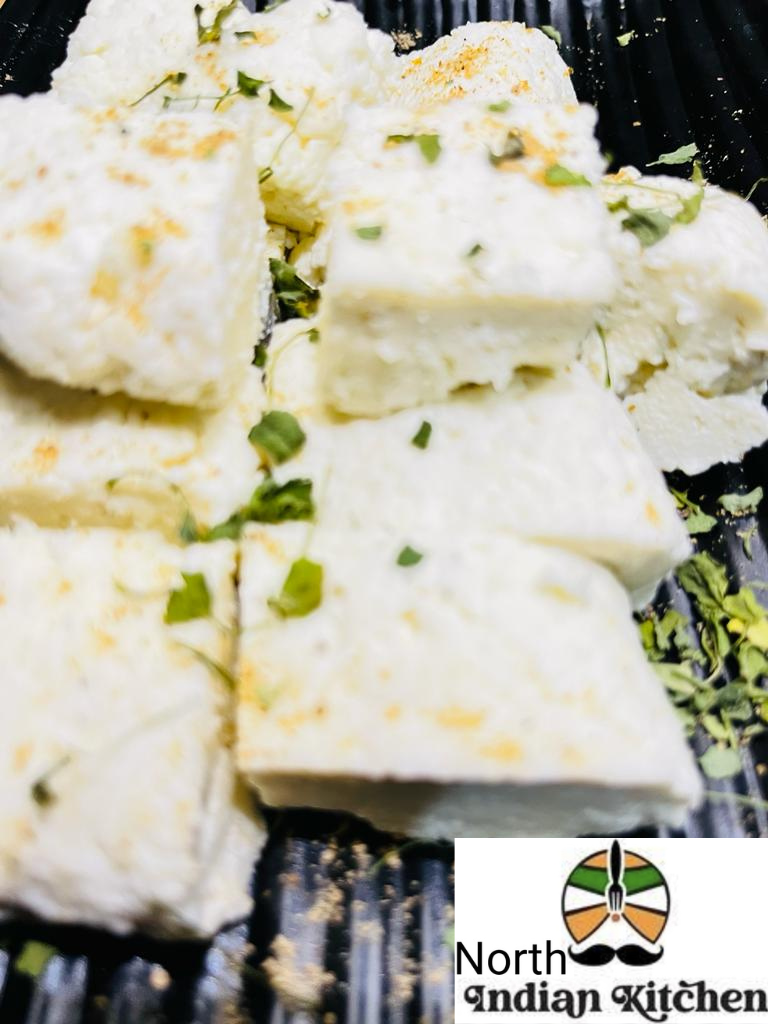
Congratulations! You have successfully made your very own homemade paneer. Homemade paneer can be used immediately in various recipes, or you can store it in the refrigerator in an airtight container filled with water for up to 3-4 days.
Expert Tips
Use Fresh Whole Milk: For the creamiest and tastiest paneer, always use fresh whole milk. Avoid using ultra-pasteurized milk as it may not curdle properly.
Lemon Juice vs. White Vinegar vs. Curd: Both lemon juice and white vinegar can be used to curdle the milk. Lemon juice tends to give a slightly milder taste to the paneer, while vinegar might result in a slightly tangier flavor. Choose the one that suits your taste preference. I personally recommend use curd as the quantity of paneer will become more as compare to lemon juice/vinegar.
Gentle Boiling: When heating the milk, ensure it comes to a gentle boil. A rapid boil may cause the milk to scorch, affecting the flavor of the paneer.
Don’t Stir Vigorously: While curdling the milk, avoid stirring too vigorously, as it can break the curds into smaller pieces, making it harder to strain and resulting in a grainy texture.
Proper Straining: Make sure to use a double layer of cheesecloth or muslin cloth for straining the paneer. This prevents small curds from escaping and ensures a smooth, consistent texture.
Rinse the Curds: After straining the paneer, rinse it under cold running water to remove any residual lemon juice or vinegar. This step is crucial to avoid any sour taste in the final product.
Draining Time: Allow the paneer to drain for at least 30 minutes. If you prefer a firmer texture, you can hang it for a little longer or place a weight on top of the wrapped paneer.
Use Whey in Cooking: Don’t discard the whey collected during the straining process. It is rich in nutrients and can be used in various cooking, such as in soups, curries, or even in kneading dough for chapatis or bread.
Experiment with Flavorings: While making paneer, you can experiment with various flavorings like crushed black pepper, chopped herbs, or spices like cumin seeds. Add them to the curdling milk to infuse unique flavors into your paneer.
Store Properly: If you plan to store the paneer, place it in an airtight container filled with water. Change the water every day to keep the paneer fresh and moist.
Use Paneer Wisely: Paneer is incredibly versatile, so don’t be afraid to get creative with its use. Apart from traditional Indian dishes, you can use it in wraps, salads, and even as a pizza topping.
FAQs
Q. What is paneer, and how is it different from regular cheese?
A. Paneer is a type of fresh cheese commonly used in Indian cuisine. It is made by curdling whole milk with an acidic ingredient like lemon juice or vinegar. Unlike aged cheeses, paneer does not undergo a fermentation process and is not salted, resulting in a mild and milky flavor with a soft, crumbly texture.
Q. Can I use low-fat or skim milk to make paneer?
A. While it is possible to make paneer using low-fat or skim milk, the result may not be as creamy or flavorful as when using whole milk. Whole milk contains a higher percentage of fat, which contributes to the richness of the paneer. If you choose to use low-fat milk, the paneer may be slightly less tender and might have a drier texture.
Q. How much paneer does 2 liters of milk yield?
A. Approximately 2 liters of milk will yield around 200 to 250 grams of paneer, depending on the milk’s fat content and how much whey is drained.
Q. Can I use buttermilk to curdle the milk for making paneer?
A. Yes, buttermilk can be used as an alternative to lemon juice or vinegar to curdle the milk. It works well and imparts a slight tanginess to the paneer.
Q. How long can I store homemade paneer?
A. Homemade paneer can be stored in the refrigerator for 3-4 days. To keep it fresh and moist, store it in an airtight container, fully submerged in water. Change the water daily to maintain its quality.
Q. Can I freeze homemade paneer?
A. Yes, you can freeze homemade paneer to extend its shelf life. Wrap the paneer tightly in plastic wrap or place it in a freezer-safe container. Frozen paneer can last for up to 3 months. Thaw it in the refrigerator before using.
Q. My paneer turned out too soft. How can I make it firmer?
A. To achieve a firmer texture, you can place a weight (like a heavy pan or a plate with a weight on top) on the wrapped paneer after draining. Leave it for an hour or two to expel excess whey and compress the curds.
Q. Can I use the whey collected during paneer-making in cooking?
A. Absolutely! The whey is nutrient-rich and can be used in various recipes. It adds flavor and nutrition to soups, stews, curries, or can even be used to knead dough for chapatis or bread.
Q. What can I do with leftover whey?
A. Leftover whey can be used to cook rice, oats, or grains, providing them with extra nutrients and a subtle tangy taste. It can also be used as a substitute for water in certain baking recipes.
Q. Can I use homemade paneer in desserts?
A. Yes, homemade paneer is perfect for desserts like rasgulla, sandesh, or rasmalai. Its mild taste allows it to blend beautifully with sweet flavors.
Q. Can I marinate paneer for paneer tikka or other dishes?
A. Yes, marinating paneer with various spices and yogurt or other flavorings for dishes like paneer tikka is a great way to enhance its taste and add depth to the final dish.
Please be sure to rate this recipe or leave a comment below if you have made it. For more vegetarian & non – vegetarian inspirations, Sign Up for my emails or follow me on Instagram, Youtube, Facebook, Pinterest or Twitter.
Indian Cottage Cheese Recipe Card
Equipments
Ingredients
- 1 litre Milk (whole milk)
- 5-6 Teaspoons Curd
Instructions
- Pour the whole milk into a heavy-bottomed pot and place it on medium heat.2. Stir the milk occasionally to prevent it from sticking to the bottom of the pot and to avoid scorching. Heat the milk until it reaches a gentle boil. Keep an eye on it to avoid boiling over.3. Once the milk starts boiling, lower the heat to medium-low and add 5-6 tablespoons of curd or lemon juice or white vinegar to the milk.4. Stir the milk gently, and you will notice it starting to curdle. The curds (solid part) will separate from the whey (liquid part).5. Line a large colander with a double layer of cheesecloth or muslin cloth.6. Carefully pour the curdled milk through the cheesecloth to strain the curds. The whey will pass through the cloth and collect in the bowl.7. Rinse the curds under cold running water to remove any traces of lemon juice or vinegar. This step is essential as it prevents the paneer from having a sour taste.8. Gather the edges of the cheesecloth and tie it securely to form a pouch containing the paneer.9. Hang the pouch with the paneer over the sink or place a large bowl over it and let it drain for about 30 minutes to remove excess whey.10. Remove the paneer pouch from the colander and gently press it to get rid of any remaining whey.11. Place the wrapped paneer on a flat surface and shape it into a block or a flattened disc.12. To achieve a firmer texture, you can place a heavy object(like a cast-iron skillet or a plate with a weight on top) over the paneer for an hour or two.13. Once the paneer has set, unwrap it and cut it into cubes or slices as per your preference.Your Homemade Paneer is ready
Video
Notes
- When making paneer, use fresh whole milk and choose between lemon juice or white vinegar as the curdling agent.
- Strain the curds properly using double-layered cheese cloth and rinse to remove any sourness.
- To achieve a firmer texture, press the paneer and consider using a weight during draining.
- Store the paneer in an airtight container with water in the refrigerator and change the water daily for freshness.


Sooo easy and simple recipe
Thanks for your feedback. We are very glad that you like our recipes.