
Fresh Homemade Yogurt Recipe | Homemade Frozen Yogurt in 25 minutes | Thick Yogurt Recipe
In worldwide Yogurt is used in & serve with many dishes and is also known as curd or dahi, is a versatile. It is a nutritious dairy product enjoyed by millions worldwide. Whether consumed plain, as a dip, or incorporated into various dishes, its creamy texture and tangy flavor make it an all-time favorite. While store-bought curd is readily available, there’s nothing quite like the satisfaction of making your own homemade yogurt.
Making homemade yogurt is a rewarding and delightful experience that allows you to enjoy the natural goodness of this versatile dairy product. The process is simple, and with a bit of practice, you can perfect your own recipe to suit your taste preferences. So, why not give it a try? Experiment with different fermentation times, milk types, and enjoy the joy of creating your own batch of creamy, tangy curd right in your kitchen!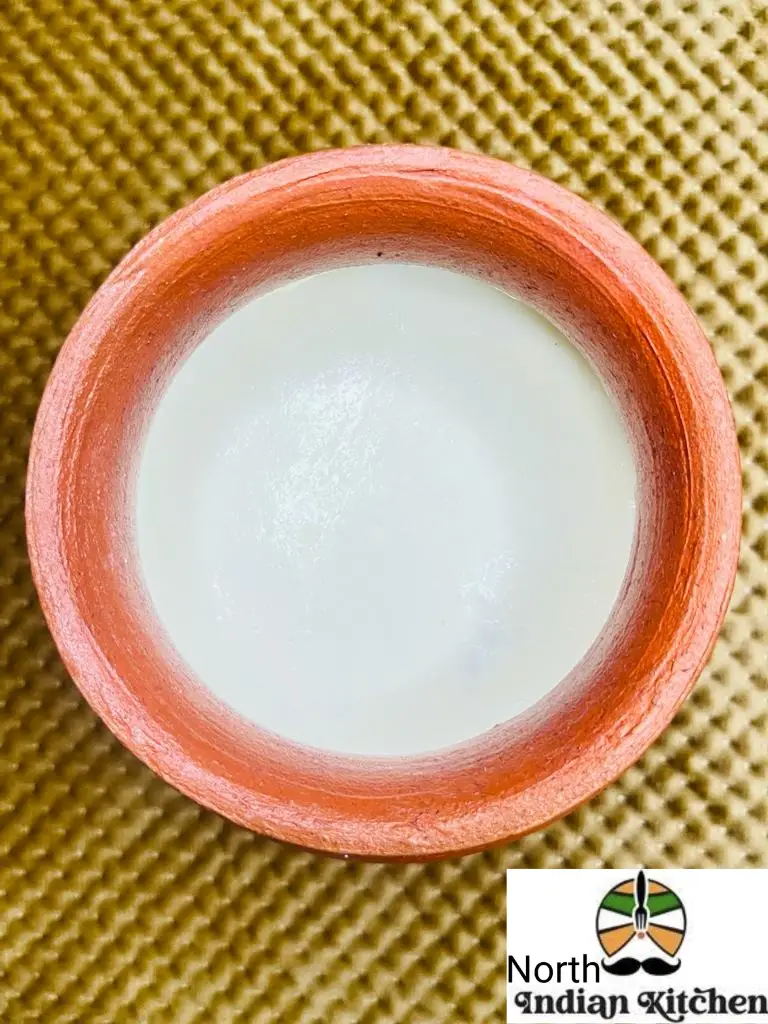
Serve yogurt with breakfast dishes. Veg paratha is best combination with yogurt. With the help of homemade yogurt we can make many recipes like tandoori chicken, veggie pizza, rava idli or mango lassi.
Step-by-Step Guide
- Heating the Milk: Pour the milk into the heavy-bottomed saucepan and place it on medium heat. Stir occasionally to avoid scorching the milk. Use a thermometer to monitor the temperature, and heat the milk until it reaches about 82-85°C (180-185°F). This step helps to denature the proteins and improve the curd’s texture.
- Cooling the Milk: Once the milk reaches the desired temperature, remove the saucepan from the heat and let it cool down. Transfer the cooled milk in dahi handi . Allow the milk to reach approximately 43-46°C (110-115°F), which is the ideal temperature for the culture (bacteria) to thrive and ferment.
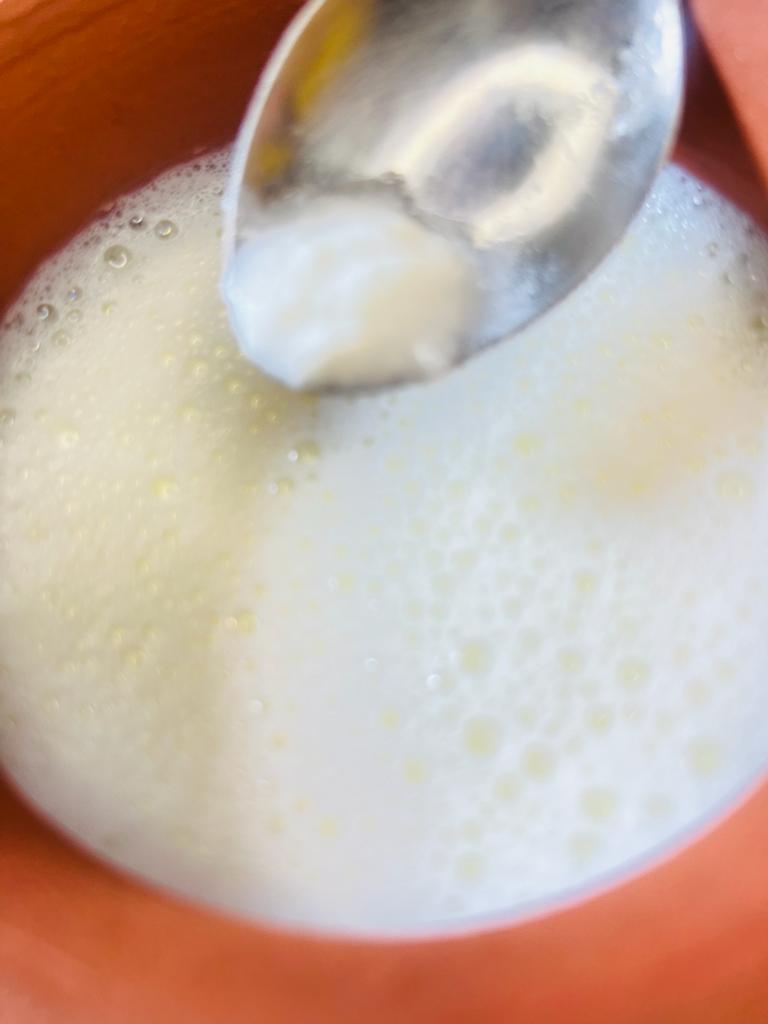
- Adding the Starter: In a separate bowl, take 2 tablespoons of plain yogurt (your starter) and mix it with a small amount of the cooled milk until it forms a smooth paste. This step helps evenly distribute the active cultures throughout the milk, ensuring a consistent set.
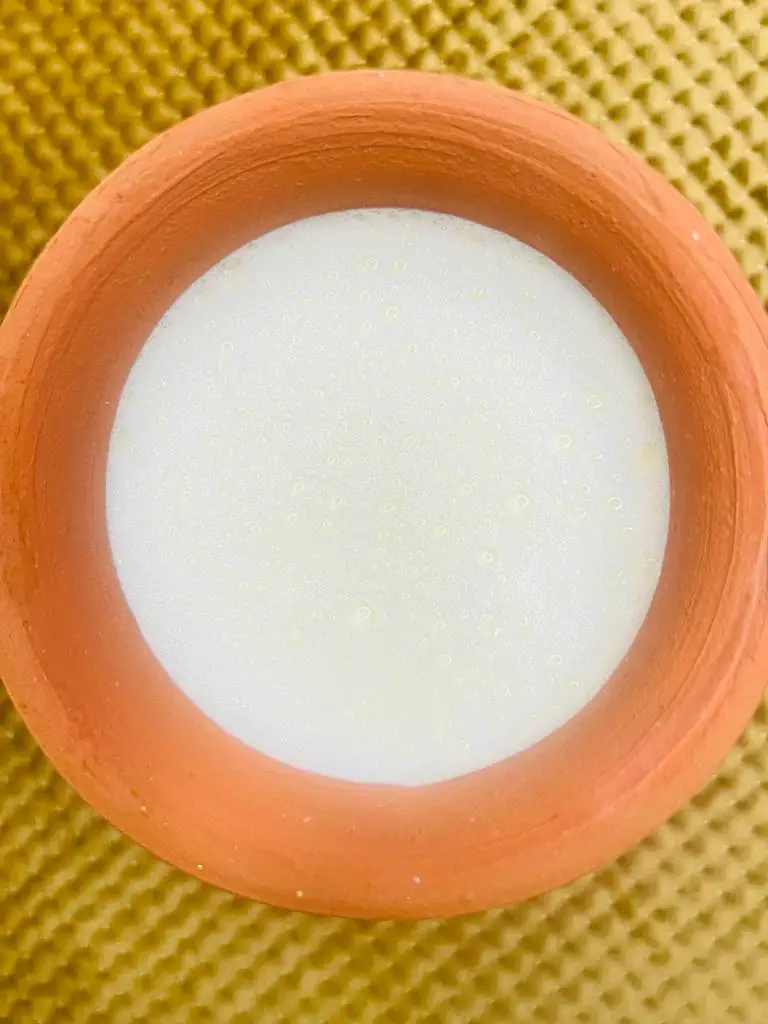
- Incubation and Fermentation: Cover the dahi handi with its lid to maintain warmth and protect the curd from drafts.
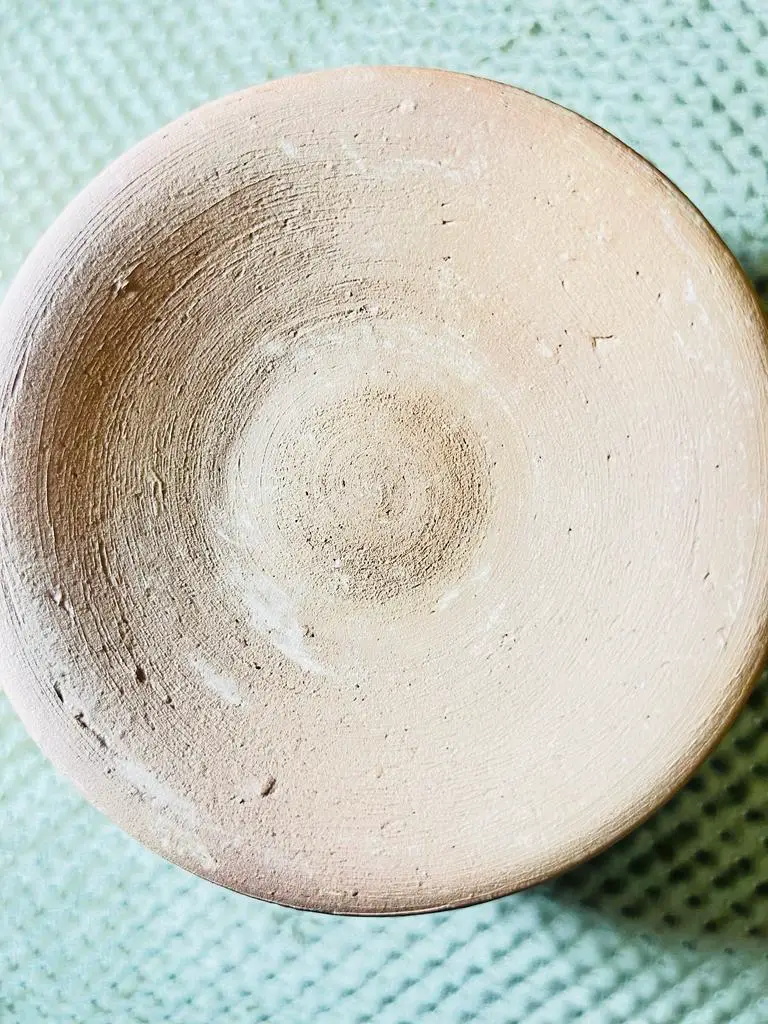
- Now place this mitti kuja in a big boiler and cover it with lid. Place it in direct sunlight for 20 minutes.

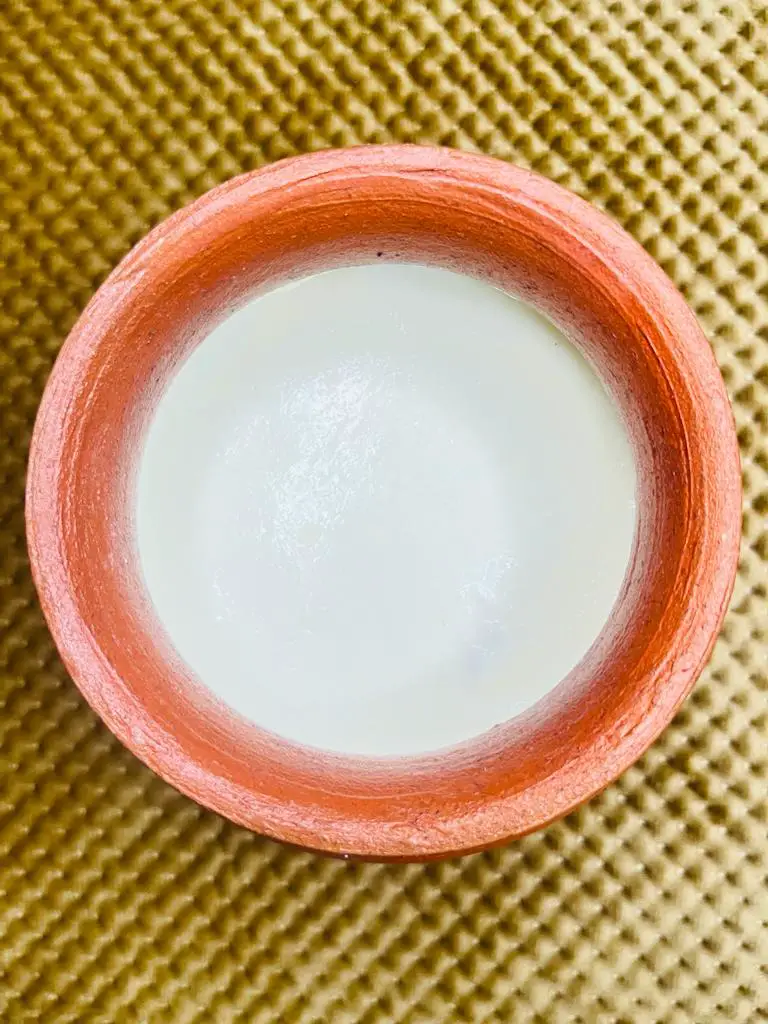
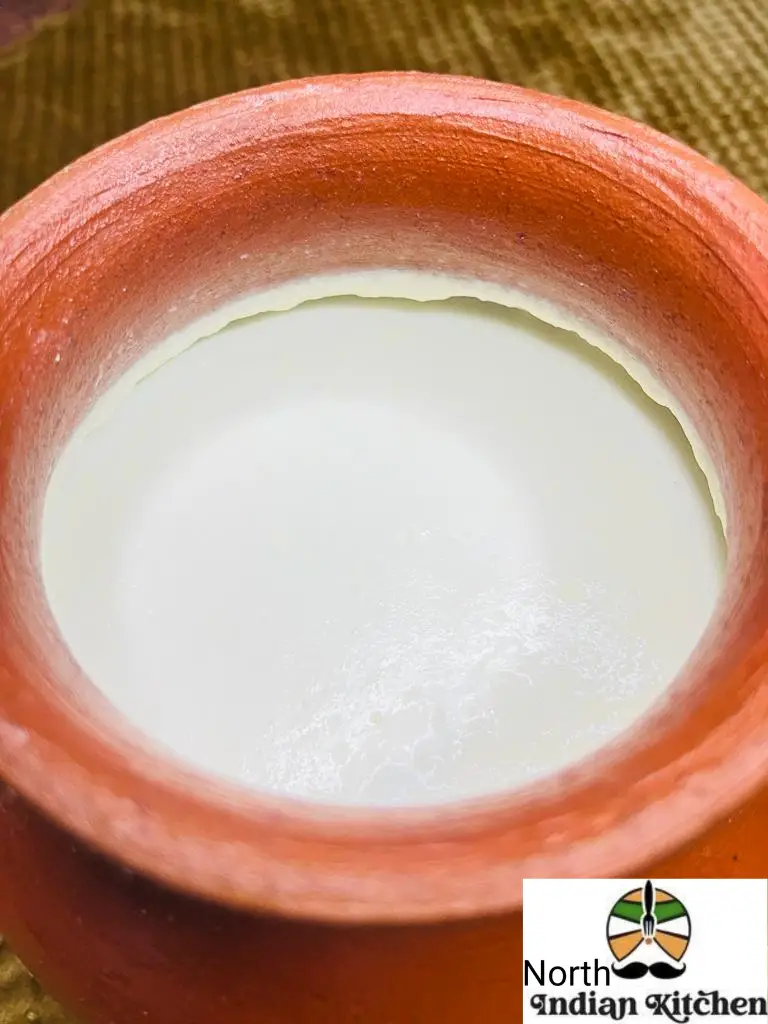
- Check for Set: After the incubation period, gently tilt the dahi handi to check if the curd has set. You should see a clear separation between the curd and the whey (the liquid that forms). If it’s not set, let it ferment for a little longer.
- Refrigerate and Enjoy: Once the curd has set to your satisfaction, transfer it to the refrigerator to cool. Chilling it further enhances its texture and flavor.
Homemade yogurt is now ready to be savored plain or as an accompaniment to your favorite dishes!
Expert Tips
Use Quality Ingredients: Start with fresh, high-quality full-fat milk and a good-quality plain yogurt as your starter. The better the ingredients, the better the curd.
Temperature Control: Maintain precise temperature control throughout the process. Use a thermometer to ensure the milk is heated to the right temperature during the initial stage and stays within the optimal range during fermentation.
Choose the Right Starter: For consistent results, use a yogurt brand that has active live cultures and no added thickeners or preservatives. You can also use a small portion of curd from a previous successful batch as a starter.
Find the Perfect Spot: During fermentation, find a warm, draft-free spot in your kitchen to place the curd container. You can use an oven (turned off) with the light on as a makeshift incubator or invest in a yogurt maker with temperature control settings.
Patience Pays Off: Allow the curd ample time to ferment and set. Don’t rush the process, as this is crucial for the development of the right flavor and texture.
Avoid Disturbances: Once you’ve set the curd to ferment, try to minimize disturbances. Avoid stirring or moving the container, as this may disrupt the fermentation process.
Check for Consistency: To check if the curd has set, tilt the container gently. It should be firm and show a clear separation between the curd and the whey
Adjust Fermentation Time: Depending on your preference, you can adjust the fermentation time to achieve a milder or tangier taste. Experiment with different durations to find your ideal flavor.
Keep Some Starter: Set aside a small amount of the homemade curd to use as a starter for your next batch. This way, you can maintain the active culture and avoid relying on store-bought yogurt every time.
Don’t Overheat: Avoid overheating the milk during the initial stage, as it can lead to a grainy texture in the final curd.
FAQs
Q. Is homemade curd better than store-bought curd?
A. Homemade curd can be superior to store-bought curd in terms of taste, texture, and quality. When you make curd at home, you have control over the ingredients, fermentation process, and temperature, which can result in a more flavorful and creamy product. Additionally, homemade curd often contains fewer additives and preservatives compared to some commercial brands.
Q. Why did my curd turn out runny?
A. There are several reasons why curd might turn out runny. Insufficient fermentation time, low-quality starter, or using low-fat milk are common causes. To fix this issue, ensure you ferment the curd for a longer duration, use a good-quality starter, and opt for full-fat milk.
Q. Can I use skimmed or low-fat milk to make curd?
A. While it’s possible to use skimmed or low-fat milk to make curd, the results may not be as creamy and rich as using full-fat milk. The higher fat content in full-fat milk contributes to a better texture and taste in the curd.
Q. How do I make curd during winters or in colder regions?
A. In colder climates, maintaining the ideal fermentation temperature can be a challenge. You can try using a yogurt maker with temperature control settings or use alternative methods like preheating your oven to a low temperature and then turning it off before placing the curd container inside. Wrapping the container in a warm towel or blanket can also help retain heat.
Q. Can I use non-dairy milk to make curd?
A. Yes, you can use non-dairy milk such as soy milk, almond milk, or coconut milk to make curd. However, the process may vary, and you might need specific starter cultures designed for non-dairy milk.
Q. How long does homemade curd last in the refrigerator?
A. Homemade curd can typically be stored in the refrigerator for about 5 to 7 days. Ensure it is kept in a clean, airtight container to maintain freshness.
Q. Can I freeze homemade curd?
A. Freezing curd is not recommended, as it can alter the texture and taste. The curd may separate and become grainy when thawed.
Q. Can I make curd without using a starter?
A. While using a starter ensures consistency and quick fermentation, you can make curd without one. Some traditional methods involve relying on naturally occurring bacteria in the environment, but the results may not be as predictable.
Q. What can I do with leftover whey after making curd?
A. Leftover whey can be used in various ways. It is rich in protein and nutrients, making it a valuable addition to smoothies, soups, and even as a replacement for water when making bread or pancakes.
Q. Is homemade curd safe to eat for everyone?
A. Homemade curd is generally safe to eat for most people. However, individuals with lactose intolerance or dairy allergies should avoid consuming dairy-based curd. For those with lactose intolerance, fermented dairy products like curd may be better tolerated due to reduced lactose content.
Enjoyed this recipe? Then try our Other DIY Recipes
Please be sure to rate this recipe or leave a comment below if you have made it. For more vegetarian & non – vegetarian inspirations, Sign Up for my emails or follow me on Instagram, Youtube, Facebook, Pinterest or Twitter.
Homemade Yogurt Recipe Card
Equipments
Ingredients
- ¼ teaspoon Curd
- 500 ml Milk (whole milk)
Instructions
- Pour 500 ml milk into the heavy-bottomed saucepan and place it on medium heat. Stir occasionally to avoid scorching the milk. Use a thermometer to monitor the temperature, and heat the milk until it reaches about 82-85°C (180-185°F). This step helps to denature the proteins and improve the curd's texture.2. Once the milk reaches the desired temperature, remove the saucepan from the heat and let it cool down. Transfer the cooled milk in dahi handi . Allow the milk to reach approximately 43-46°C(110-115°F), which is the ideal temperature for the culture (bacteria) to thrive and ferment.3. In a separate bowl, take ¼ tablespoons of plain yogurt (your starter) and mix it with a small amount of the cooled milk until it forms a smooth paste. This step helps evenly distribute the active cultures throughout the milk, ensuring a consistent set.4. Cover the dahi handi with its lid to maintain warmth and protect the curd from drafts.5. Now place this dahi handi in a big boiler and cover it with lid. Place it in direct sunlight for 20 minutes.6. After the incubation period, gently tilt the dahi handi to check if the curd has set. You should see a clear separation between the curd and the whey (the liquid that forms). If it's not set, let it ferment for a little longer.7. Once the curd has set to your satisfaction, transfer it to the refrigerator to cool. Chilling it further enhances its texture and flavor. Your Homemade Yogurt is Ready
Video
Notes
- For creamy and delicious curd, it's crucial to start with good-quality milk. Full-fat milk is preferred for its higher fat content, which results in a richer texture. Avoid using UHT (ultra-high temperature) processed milk, as it may not set well.
- To ensure a successful curd-making process, it's essential to sterilize all the utensils and containers you'll be using. Wash them thoroughly with hot water and let them dry completely before use.