How to Make Coconut Roll at Home | Coconut Milk Roll Recipe | Instant Sweet Roll Recipe
Are you craving a sweet treat that’s easy to make and bursting with rich flavors? Look no further than this delectable Condensed Milk, Milk Powder, and Coconut Roll recipe! This traditional Indian dessert is a favorite for festivals, celebrations, or simply satisfying your sweet tooth. The combination of coconut, milk powder, and condensed milk creates a mouthwatering treat that’s sure to delight your taste buds.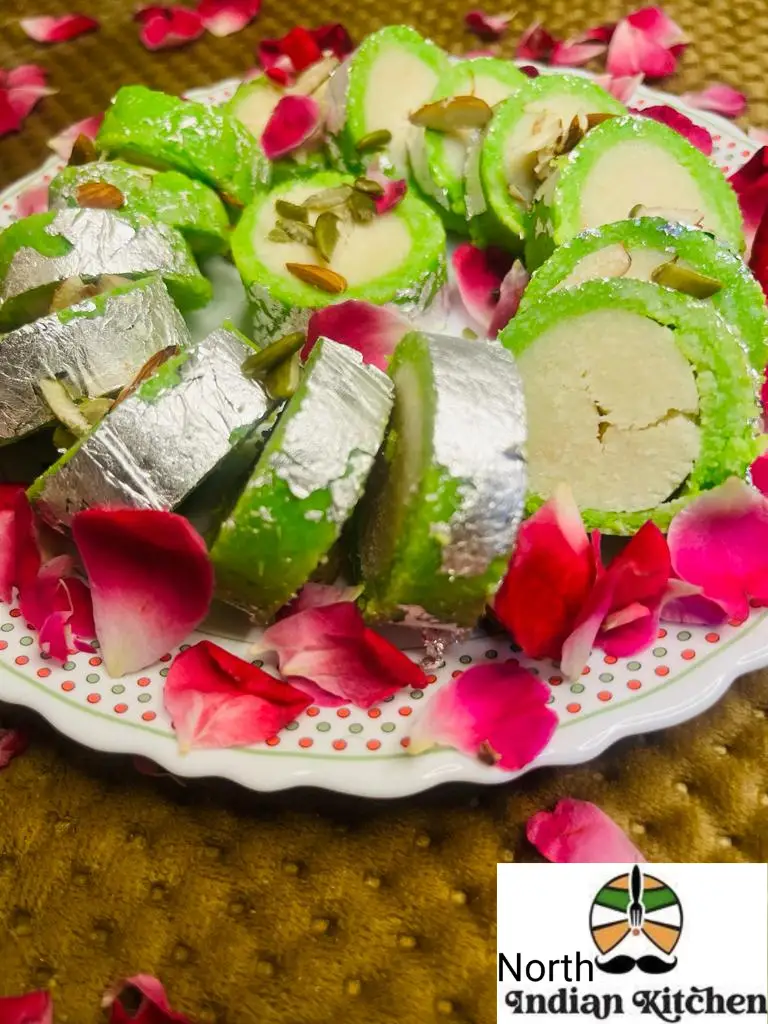
Making of Coconut Rolls
- Initially take a bowl and add 1cup dessicated coconut in it.
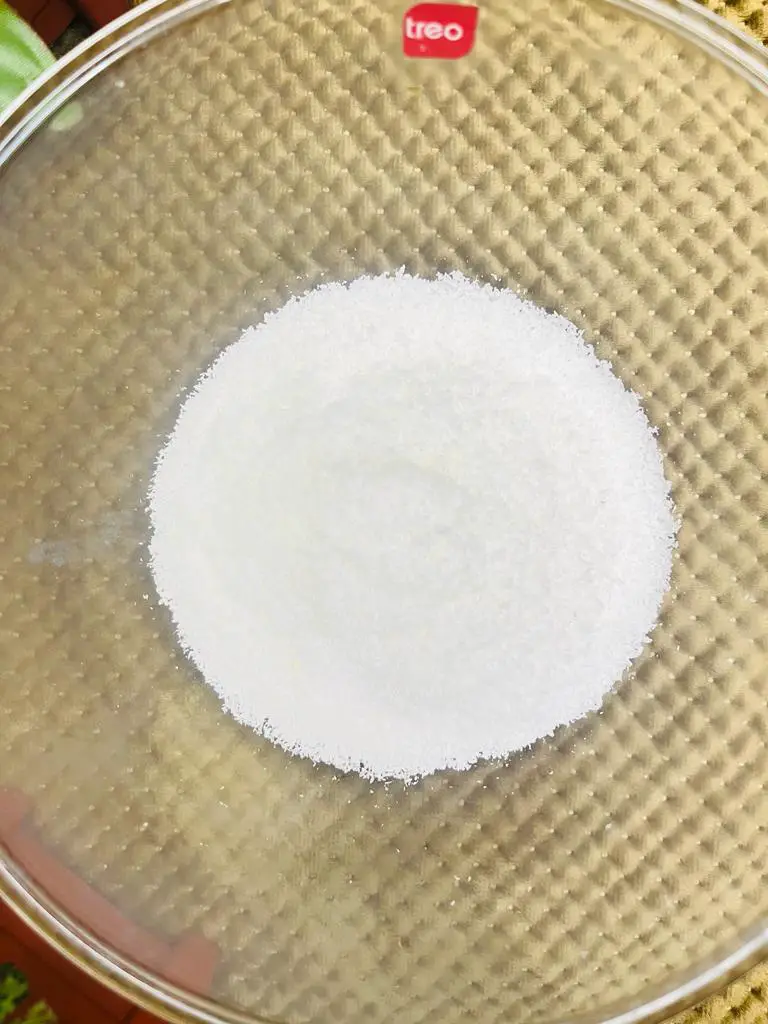
- Now add 1cup milk powder.
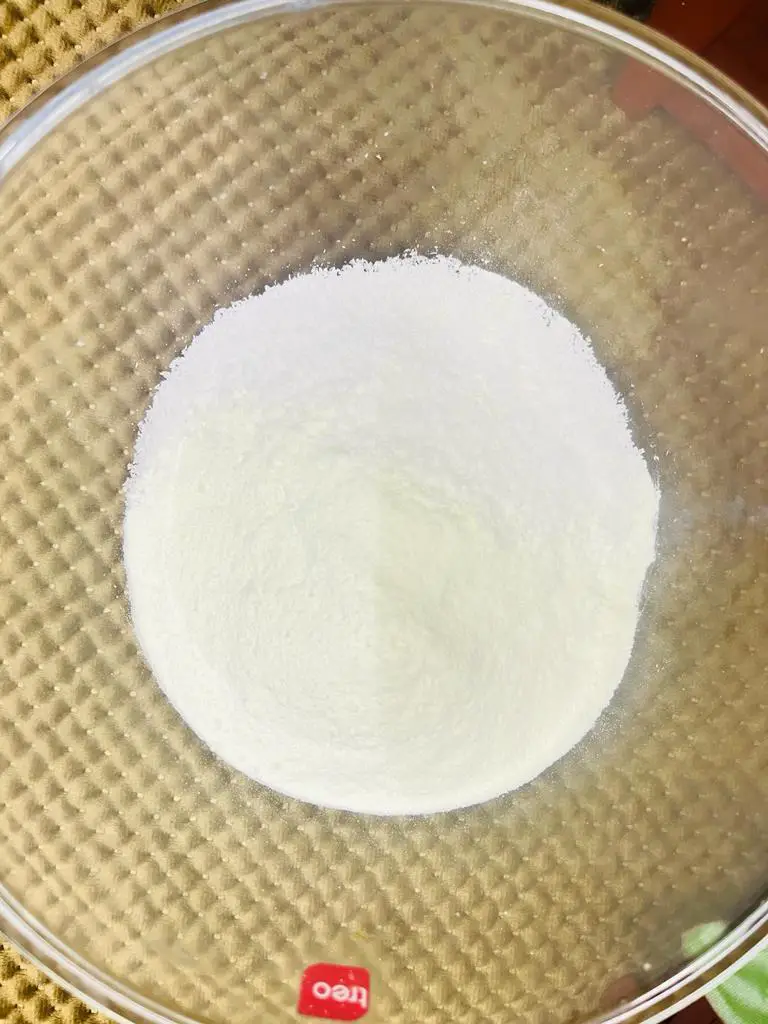
- Append 1/4 cup condensed milk. It will give a unique taste and thickness to the mixture.
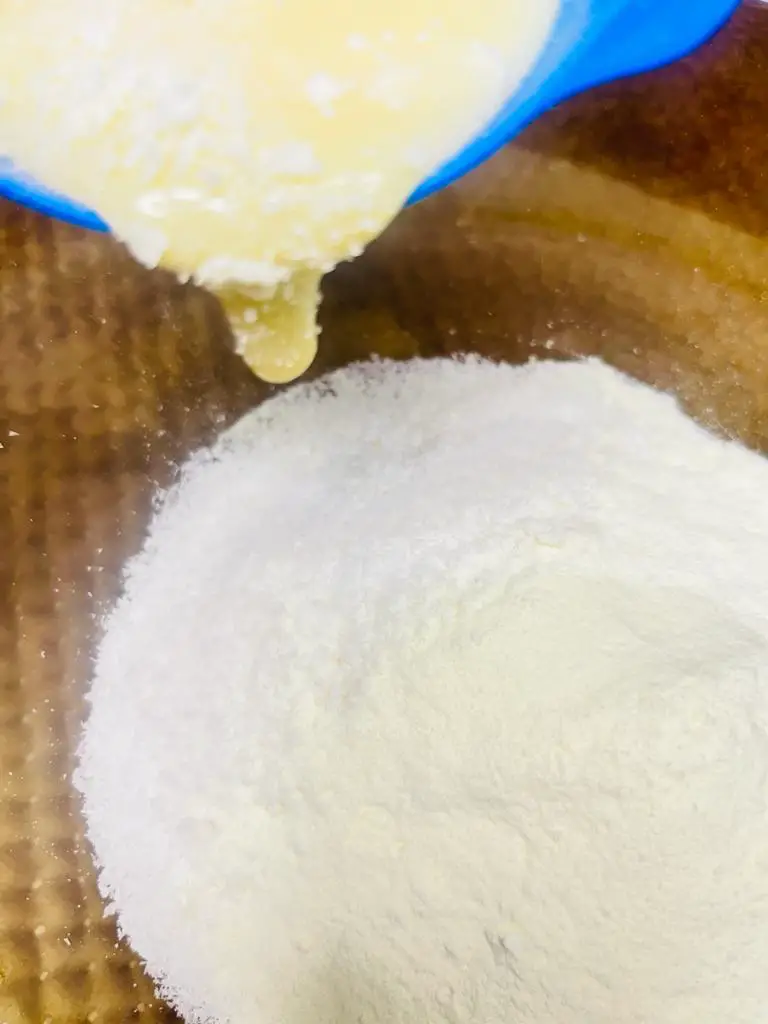
- Pour 1/4 teaspoon keora essence.
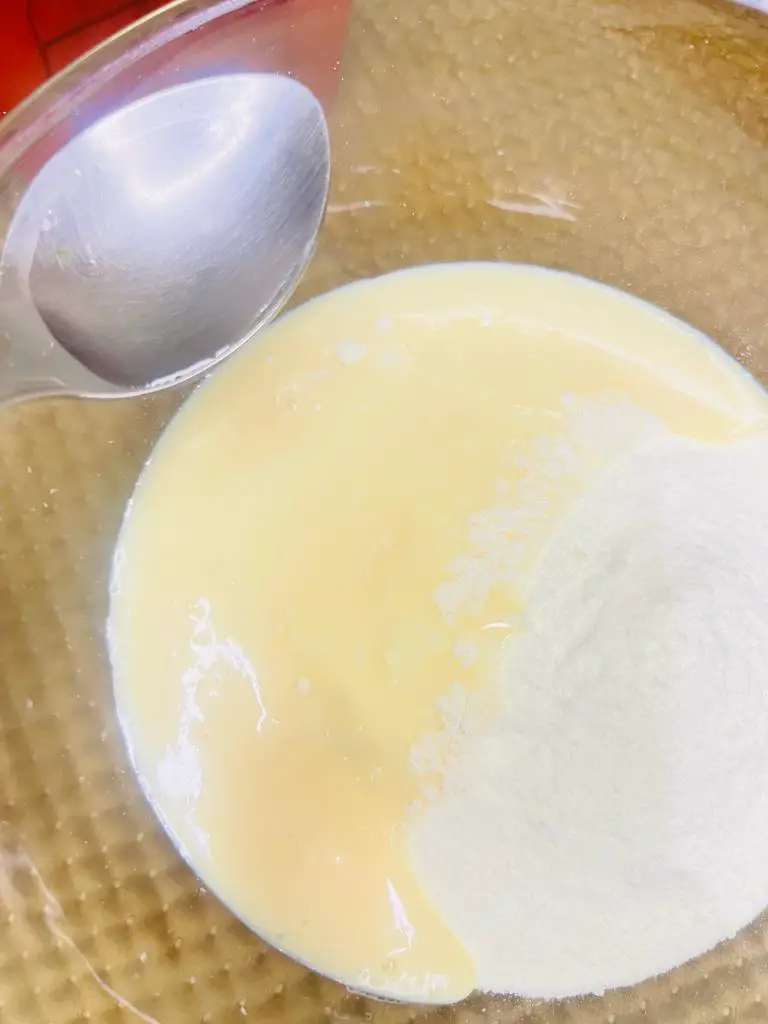
- Mix all the ingredients well to make a smooth and fine dough.
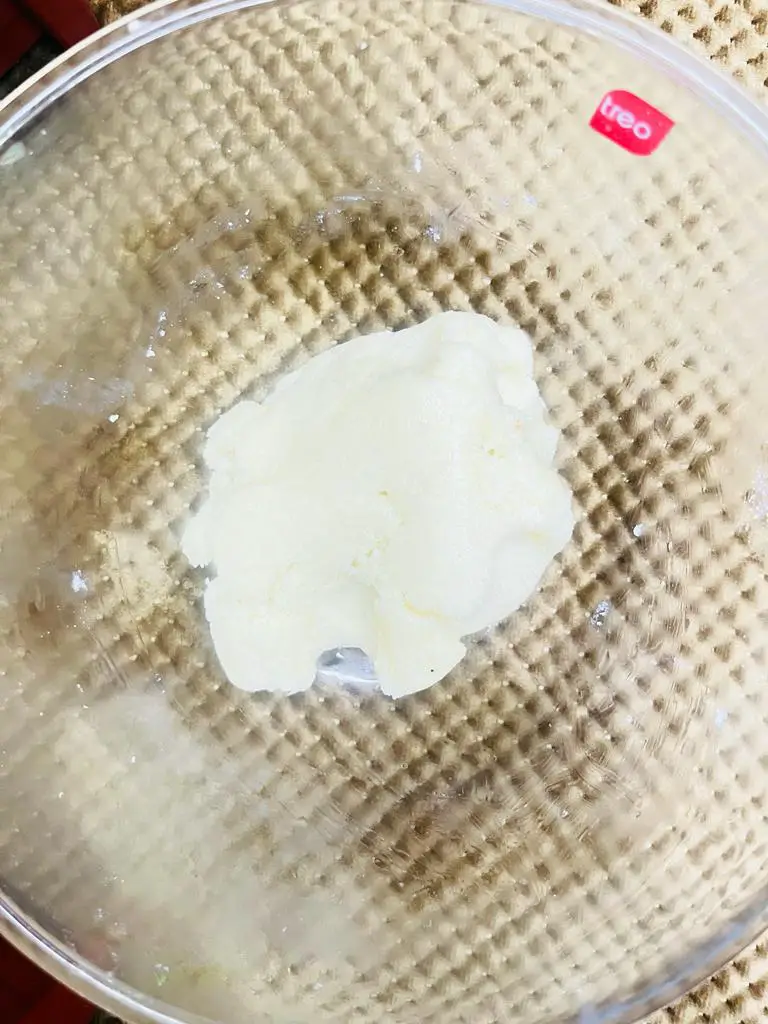
- Break the dough in two parts and pour 1/4 teaspoon green food color on one portion.
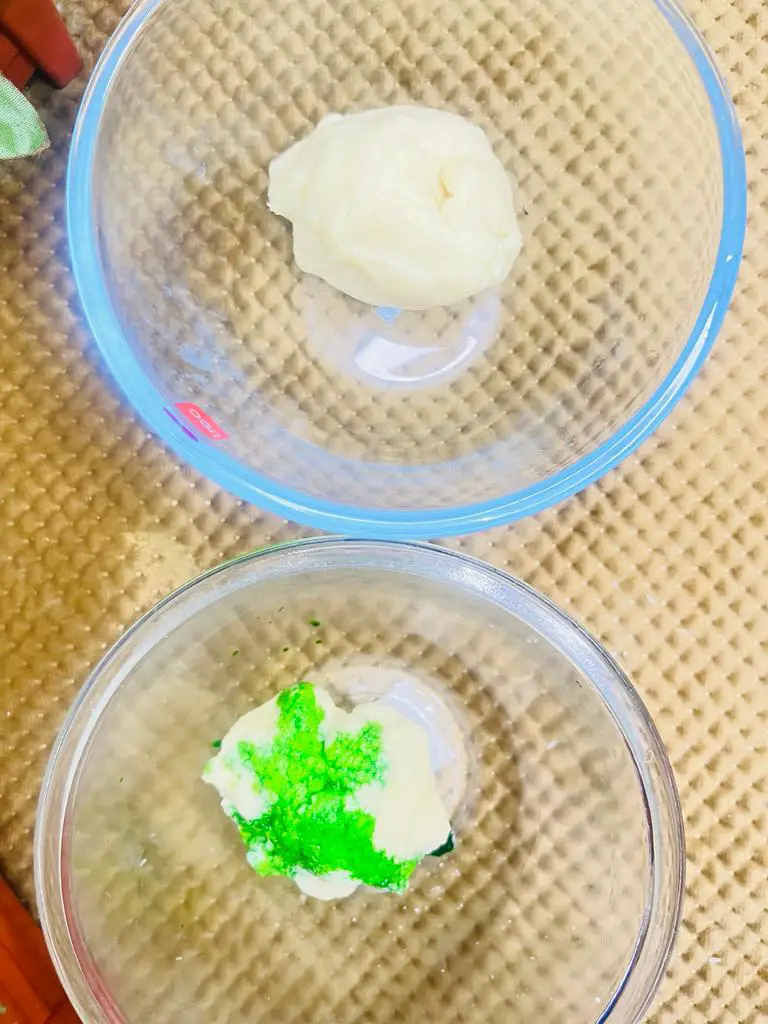
- Now take a rolling board and place butter paper on it. Transfer the dough from bowl to board and roll it with your hands to make a stick type roll. Make sure that it should be rolled until it became super smooth.
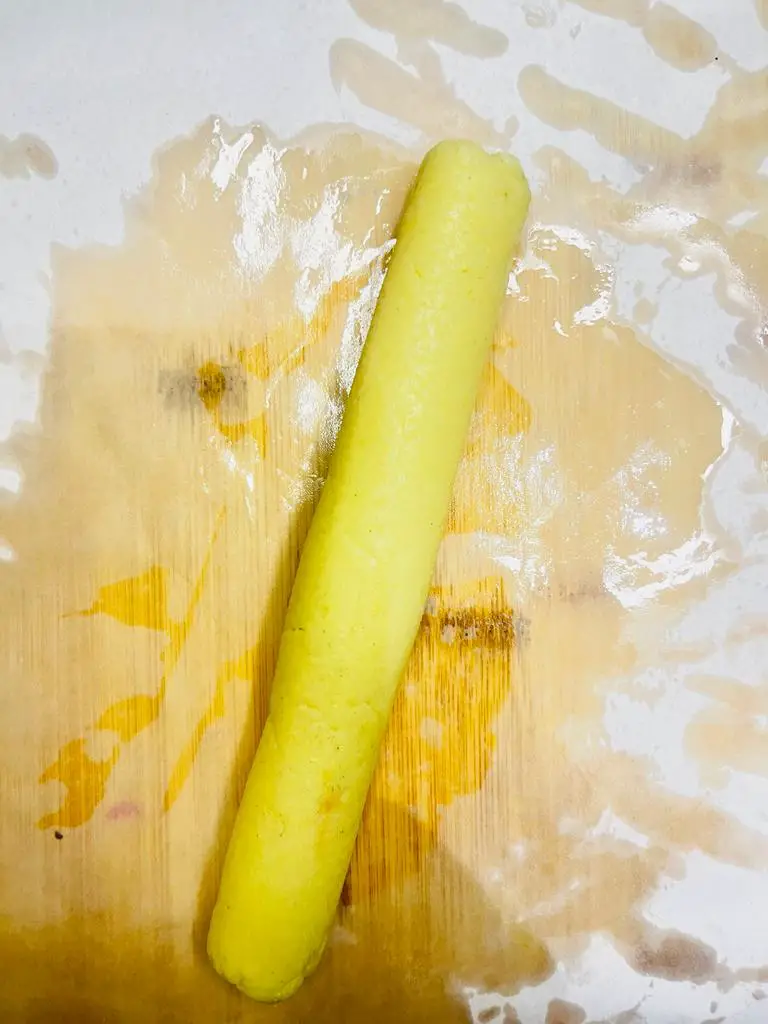
- Take greenish portion dough and make it smooth by using rolling pin on it.
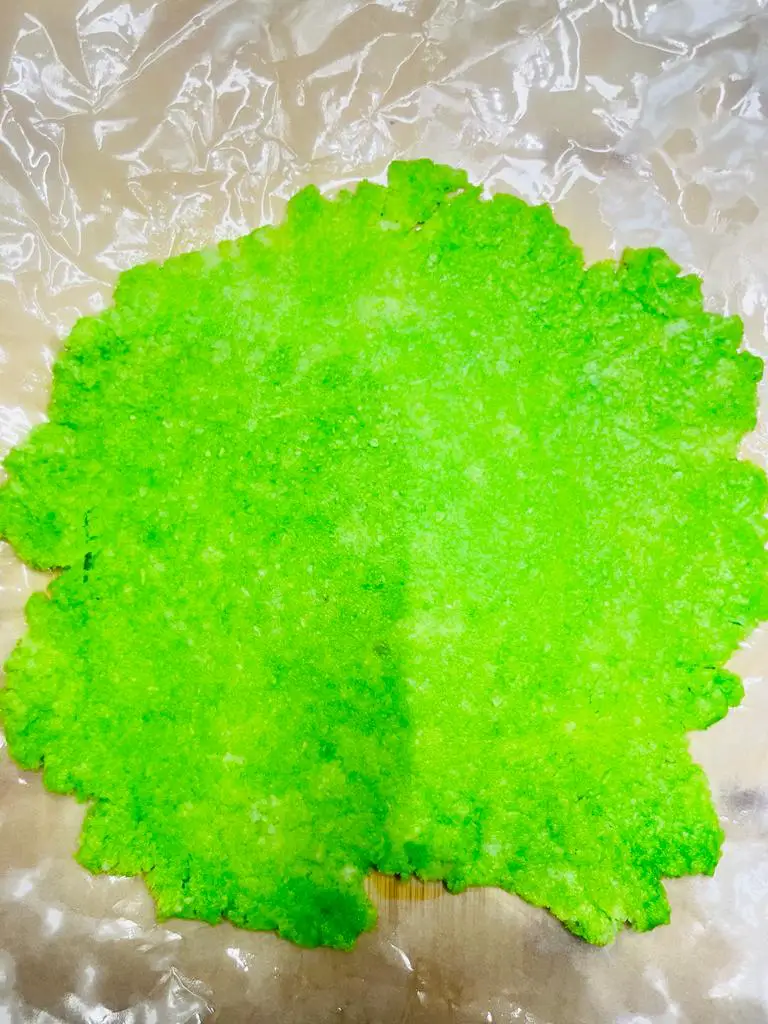
- Now place the stick type roll on greenish portion.
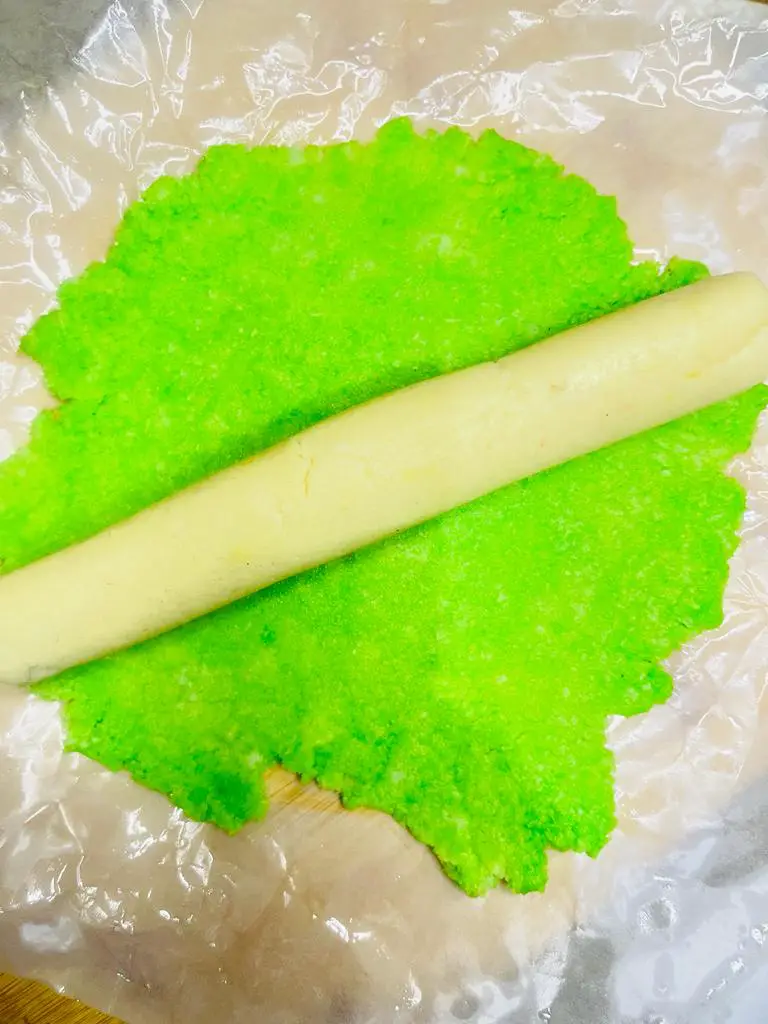
- Roll the both portions along with butter paper.
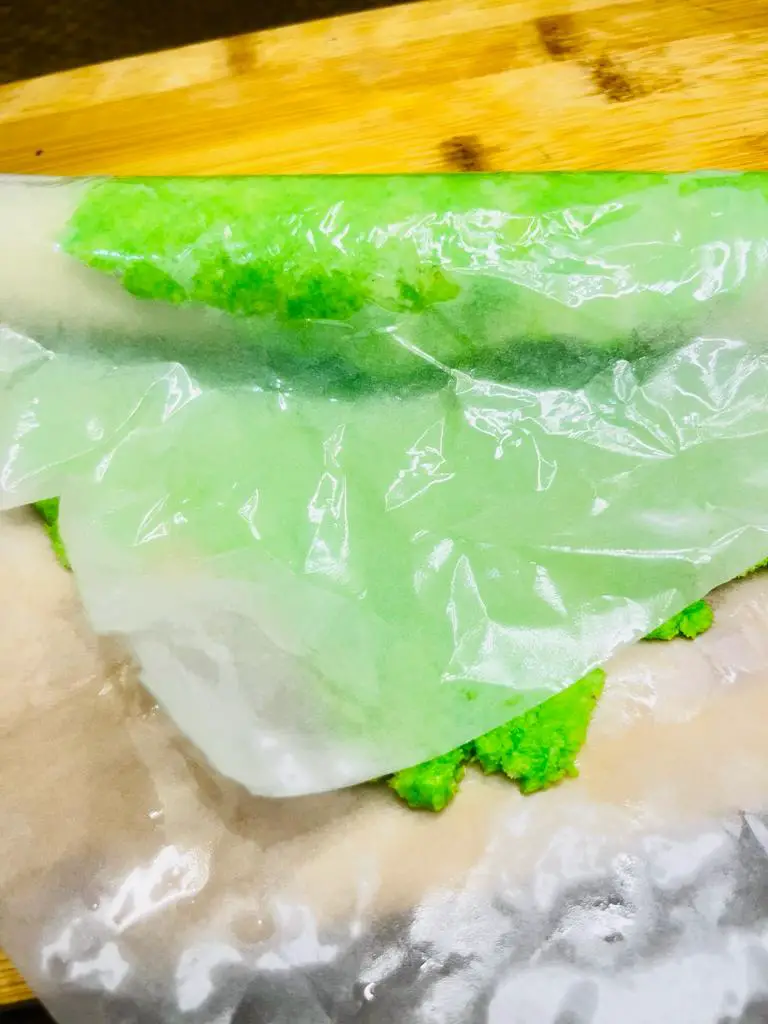
- It should be fully rolled so that the green portion covers the other ones.
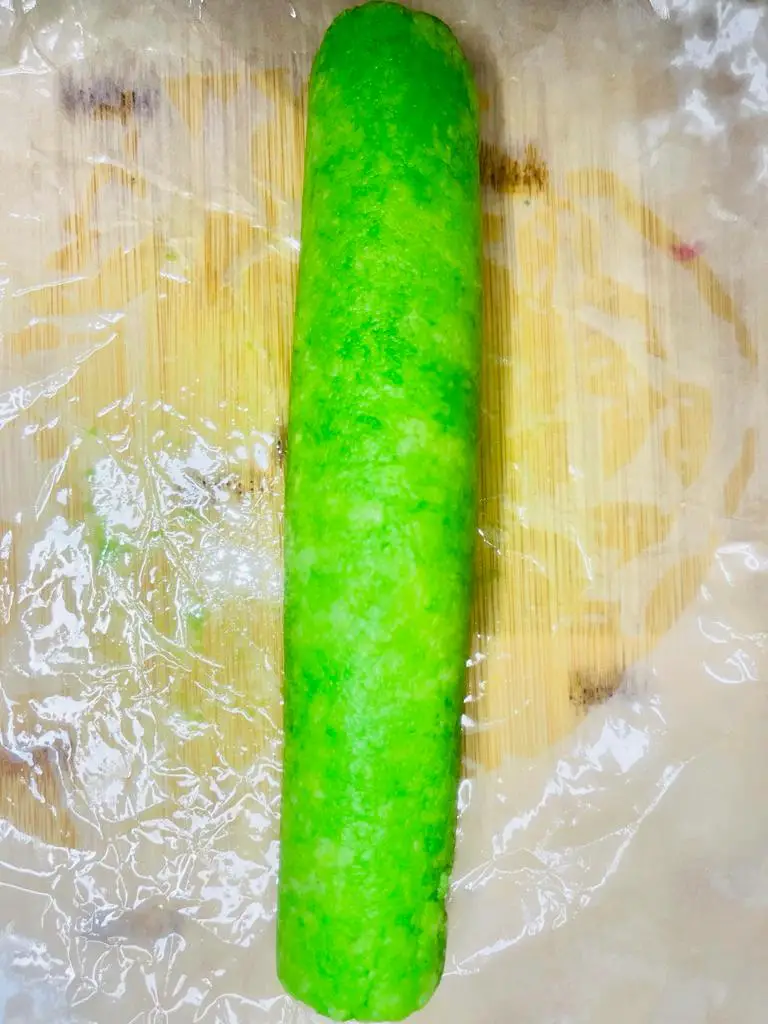
- Now cover them with butter paper, lock it from both sides and refrigerate it for 1 hour.
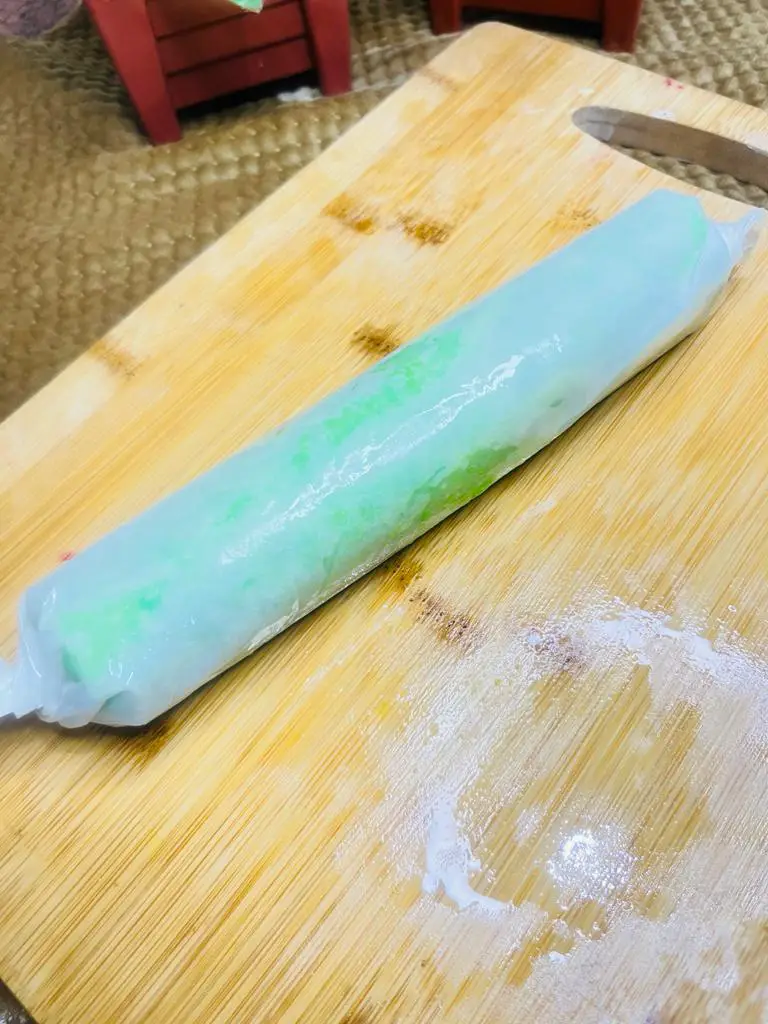
- Afterwards bring the roll out from refrigerator and uncover it.
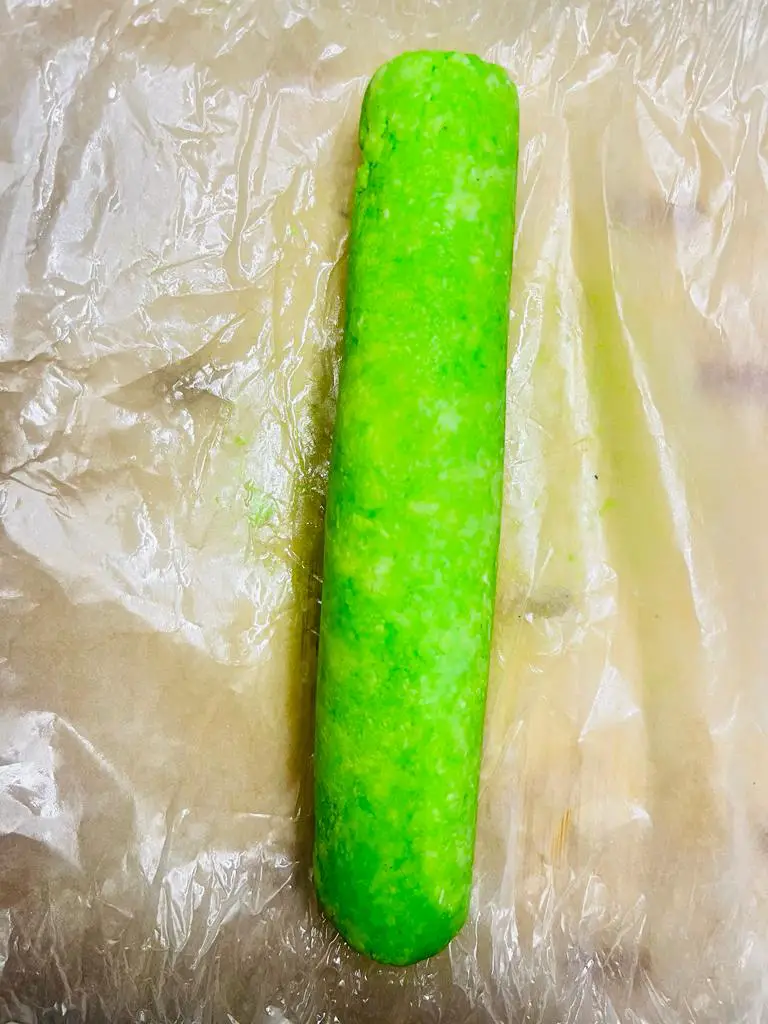
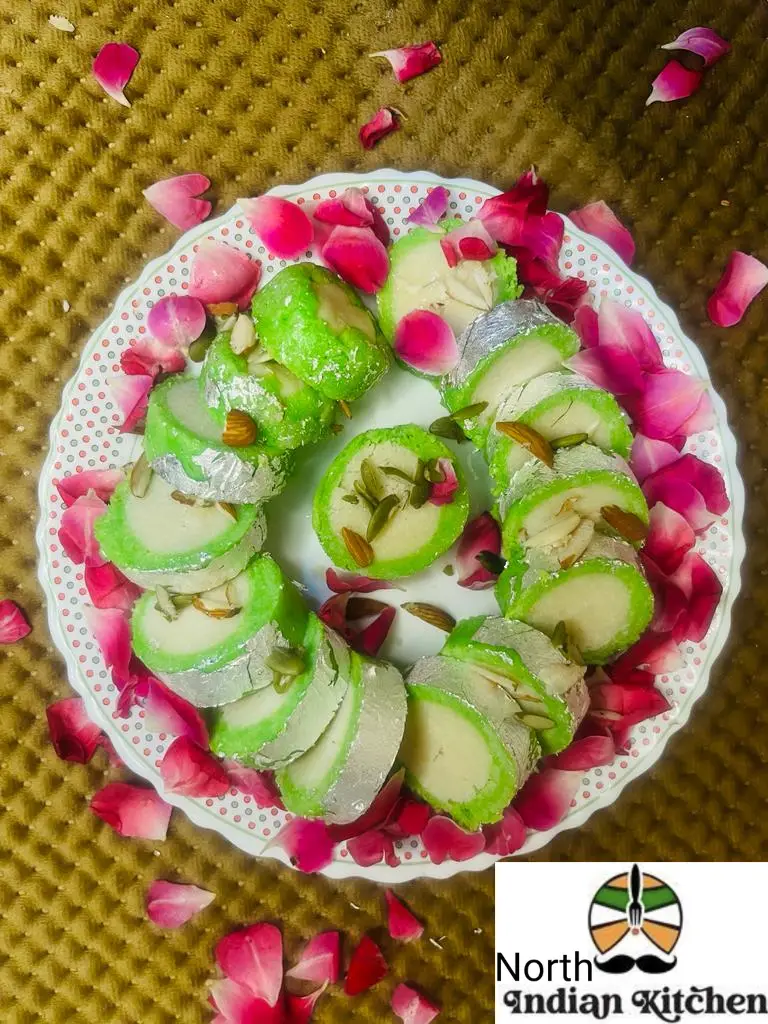
- Cover the roll with thin silver leaf. It will enhance the look of the dish.
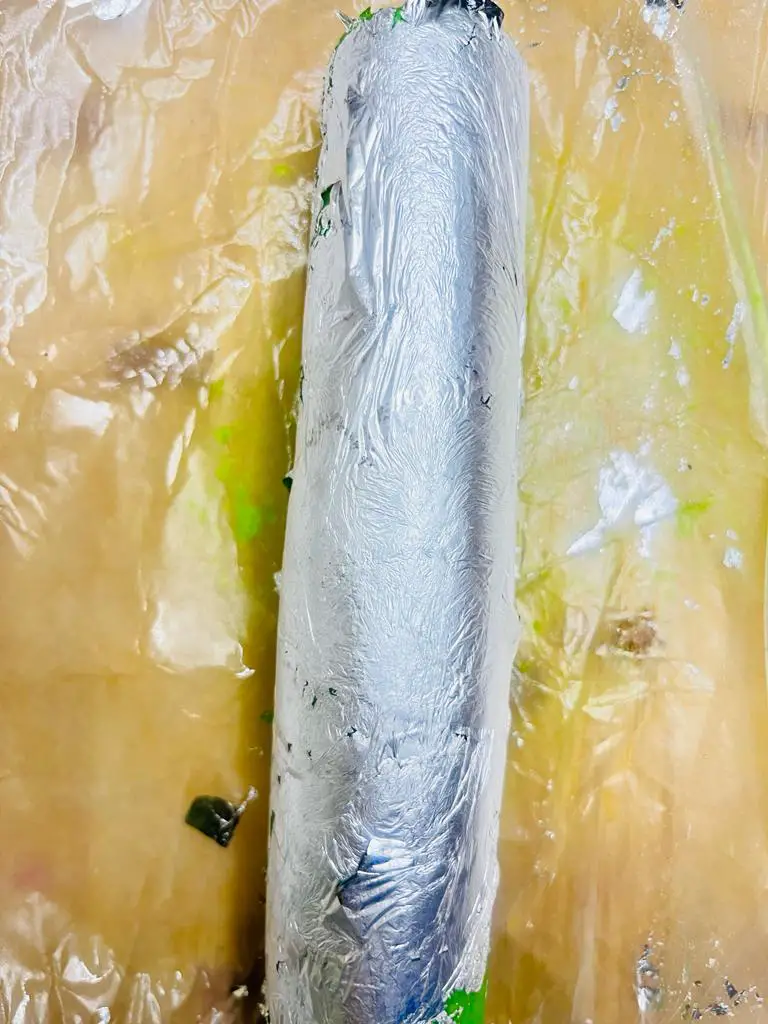
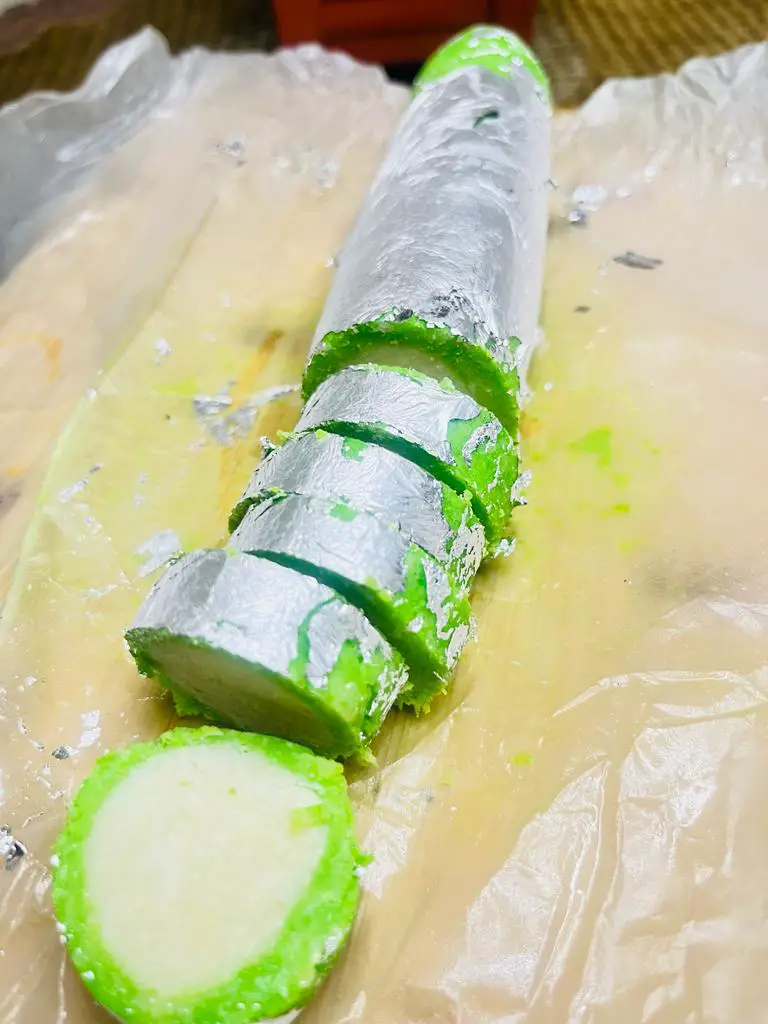
- Cut them into slices, big/small depends upon your licking.
- Garnish coconut rolls with chopped almonds, pistachios and rose petals.
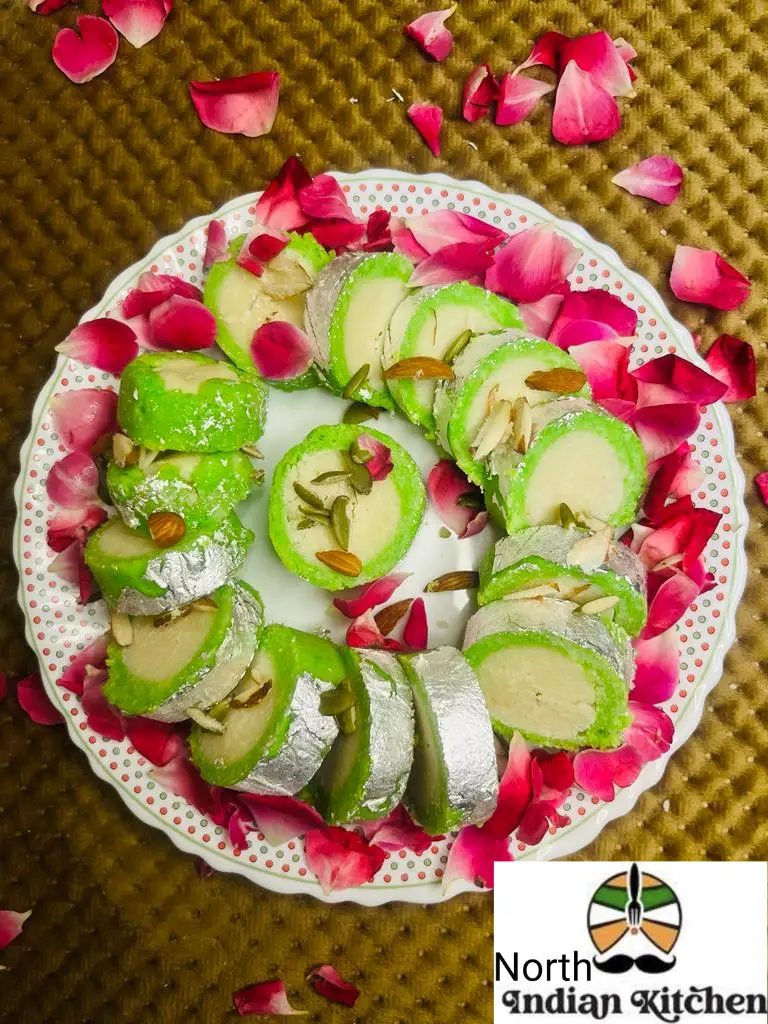
Your tasty and unique Coconut Roll is ready to serve and celebrate everyday as occasion or festival.
Expert Tips
Quality Ingredients Matter: Use high-quality ingredients, especially the desiccated coconut, milk powder, and sweetened condensed milk. The better the ingredients, the richer the flavor of your burfi.
Consistency of Mixture: While mixing the ingredients, the consistency should be sticky and malleable. If it’s too dry, the burfi might turn out crumbly. Adjust the amount of condensed milk as needed
Garnishing: Chopped nuts not only provide a delightful crunch but also enhance the visual appeal of the burfi. You can lightly toast the nuts before garnishing for an extra layer of flavor.
Pressing Down Smoothly: When transferring the mixture to the baking dish, use a spatula to smooth it down evenly. Press gently to create a compact and uniform surface.
Cooling Time: Allow the roll to cool at room temperature for a few hours before cutting. This helps it set properly and makes slicing easier.
Slicing Techniques: Use a sharp knife that’s been greased with a little ghee to prevent sticking. You can dip the knife in hot water before each cut for cleaner edges.
Storage: Store the burfi in an airtight container. It stays fresh at room temperature for a couple of days, but for longer shelf life, consider refrigerating it. Before serving, bring it to room temperature for the best texture and flavor.
Experiment with Variations: Once you’re comfortable with the basic recipe, feel free to experiment with additional flavors like saffron, rose water, or even cocoa powder for a unique twist.
FAQs
Q. What is Burfi?
A. Burfi is a popular Indian dessert that comes in various flavors and textures. It’s typically made using ingredients like milk solids, nuts, and flavorings. Burfi has a fudge-like consistency and is often cut into small squares or diamond shapes for serving.
Q. Can I use fresh coconut instead of desiccated coconut?
A. Using desiccated coconut is recommended for this recipe because it’s dried and has a lower moisture content. Fresh coconut might affect the texture and shelf life of the burfi. However, if you choose to use fresh coconut, you might need to adjust the cooking time and moisture levels.
Q. Can I use homemade condensed milk?
A. While store-bought condensed milk is commonly used for convenience, you can certainly use homemade condensed milk if you prefer. Just ensure that it has the same thickness and sweetness as the store-bought version.
Q. How do I prevent the burfi from becoming too crumbly?
A. Ensuring the right balance of ingredients and the correct cooking time is key to preventing crumbly burfi. Make sure the mixture is sticky before setting it in the dish. Additionally, pressing it down firmly in the dish while it’s still warm helps in achieving a cohesive texture.
Q. Can I add food coloring for a vibrant look?
A. While it’s not necessary, you can add a few drops of food coloring if you want to enhance the visual appeal of the burfi. Use natural food coloring for a healthier option.
Q. Can I make this recipe vegan?
A. Yes, you can make a vegan version of this burfi by using dairy-free substitutes such as coconut condensed milk and plant-based ghee. Keep in mind that the flavor and texture might vary slightly.
Q. How long does the burfi stay fresh?
A. At room temperature, the burfi can stay fresh for up to 2-3 days. To extend its shelf life, store it in an airtight container in the refrigerator for up to a week.
Q. Can I freeze the burfi?
A. Yes, you can freeze burfi for up to a month. Ensure it’s wrapped well in plastic wrap and placed in an airtight container. Thaw it in the refrigerator before serving.
Enjoyed this recipe? Then Try our Other Dessert Recipes
Please be sure to rate this recipe or leave a comment below if you have made it. For more vegetarian & non – vegetarian inspirations, Sign Up for my emails or follow me on Instagram, Youtube, Facebook, Pinterest or Twitter.
Coconut Roll Recipe Card
Equipments
Ingredients
- 1 cup Dessicated Coconut
- 1 cup Milk powder
- ¼ cup Condensed Milk
- ¼ teaspoon Keora Essence
- ¼ teaspoon Green Food Color
- 2 Thin Silver Leaf
For Garnishing
- 8-10 Almonds
- 6-7 Pistachios
- 15-20 Rose Petals
Instructions
- Initially take a bowl and add 1cup dessicated coconut in it.2. Now add 1cup milk powder.3. Append 1/4 cup condensed milk. It will give a unique taste and thickness to the mixture.4. Pour 1/4 teaspoon keora essence.5. Mix all the ingredients well to make a smooth and fine dough.6. Break the dough in two parts and pour 1/4 teaspoon green food color on one portion. 7. Now take a rolling board and place butter paper on it. Transfer the dough from bowl to board and roll it with your hands to make a stick type roll. Make sure that it should be rolled until it became super smooth.8. Take greenish portion dough and make it smooth by using rolling pin on it.9. Now place the stick type roll on greenish portion.10. Roll the both portions.11. It should be fully rolled so that the green portion covers the other ones.12. Now cover them with butter paper and refrigerate it for 1hour.13. Afterwards bring the roll out from refrigerator and uncover it.14. Cover the roll with thin silver leaf. It will enhance the look of the dish.15. Cut them into slices, big/small depends upon your licking.16. Lastly garnish coconut roll with chopped almonds, pistachios and rose petals.Your tasty and unique Coconut Roll is ready
Video
Notes
- Use best and fresh dessicated coconut as it will give best flavor.
- You can add crushed dry fruits also while preparing the dough.

